Electromagnets and simple breadboard circuits
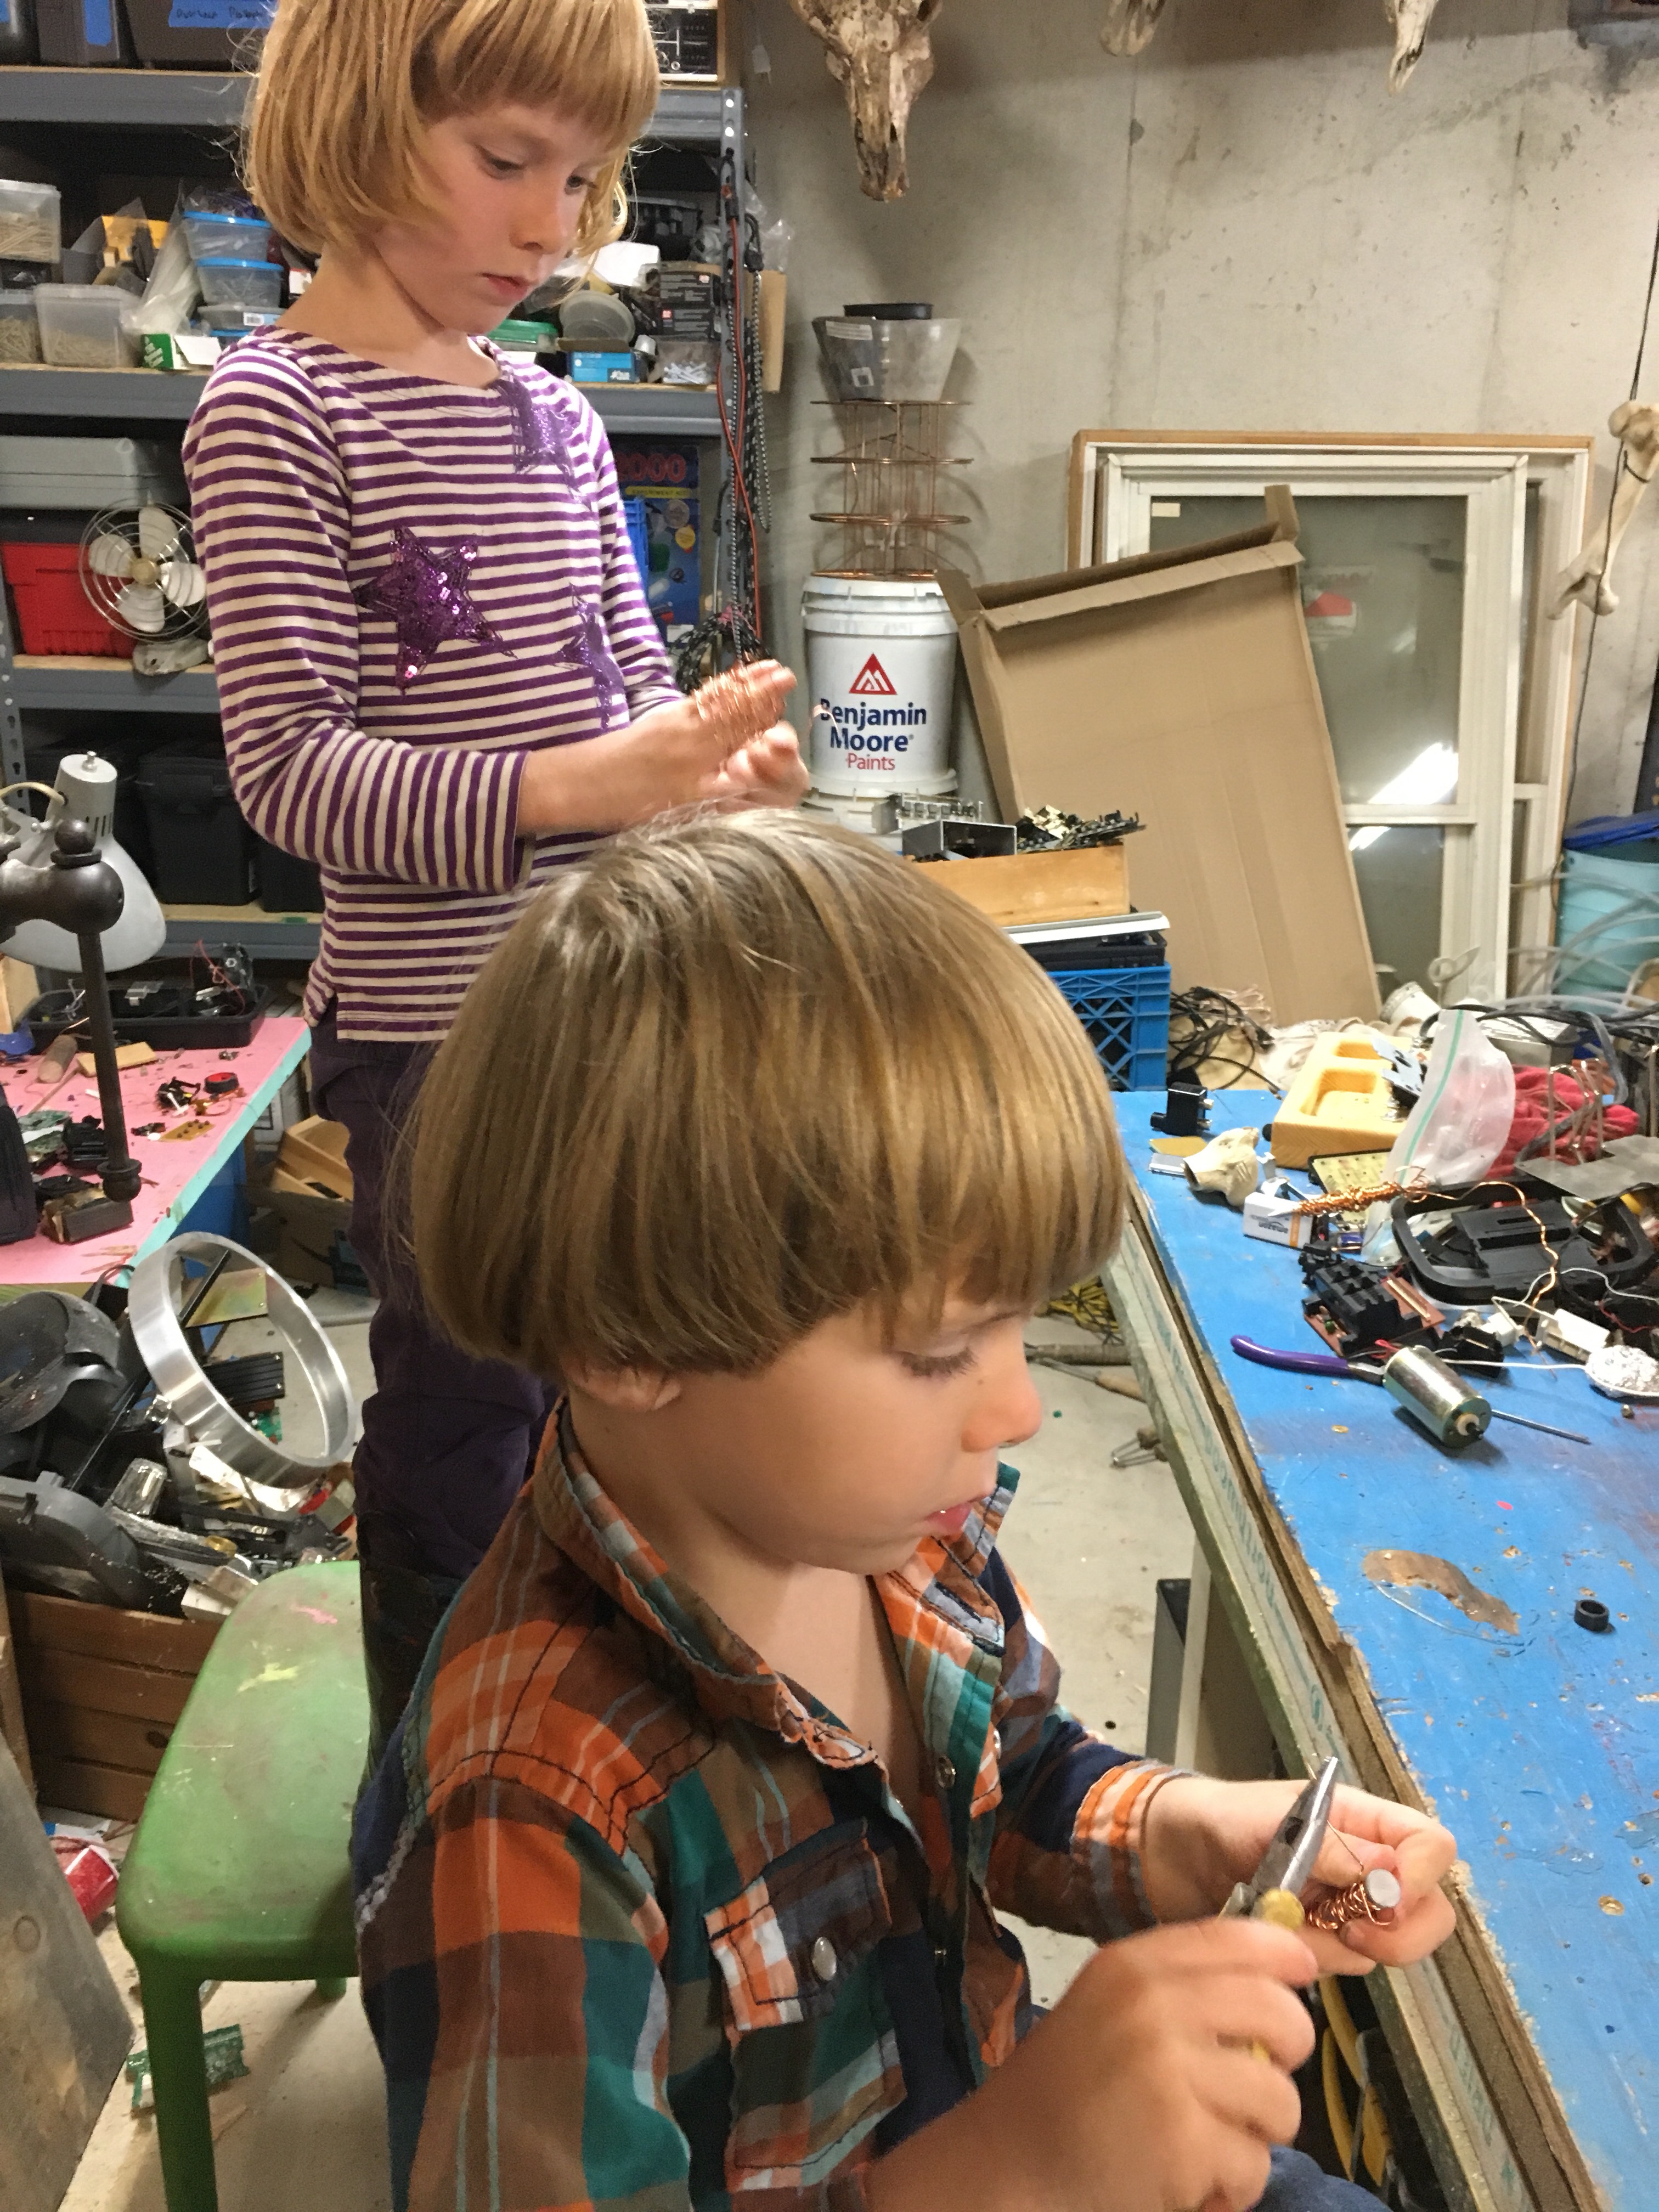
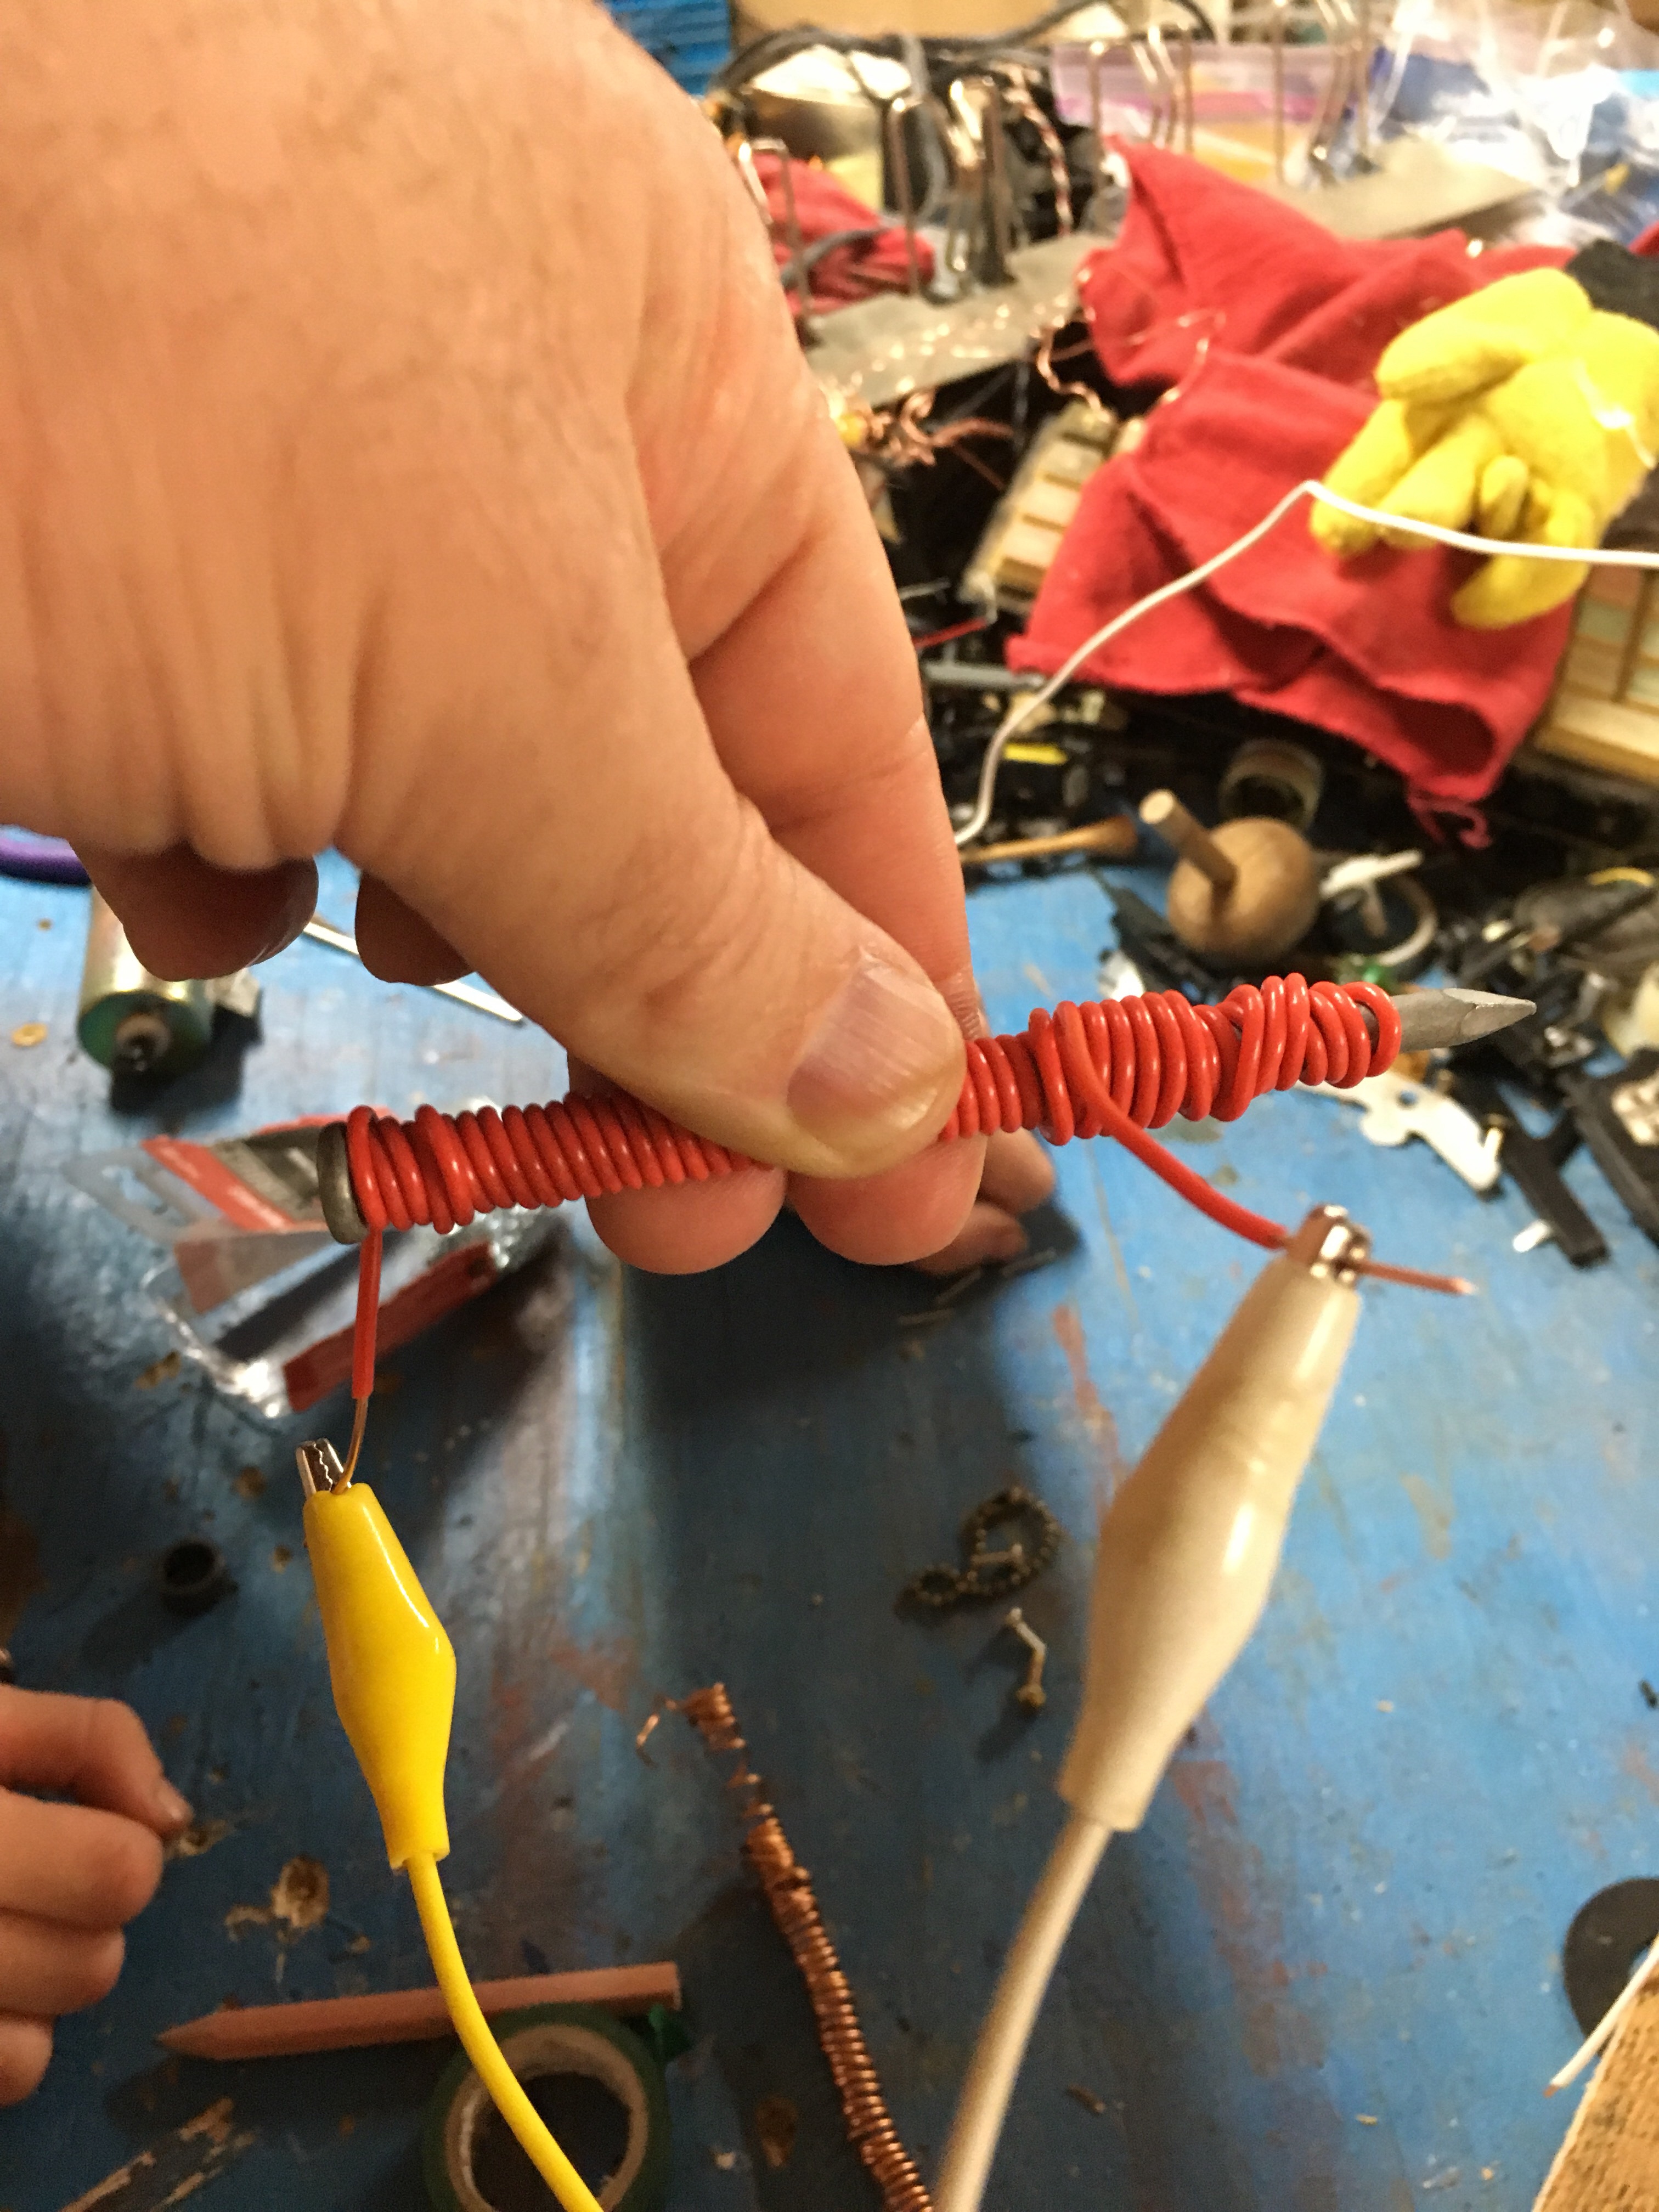
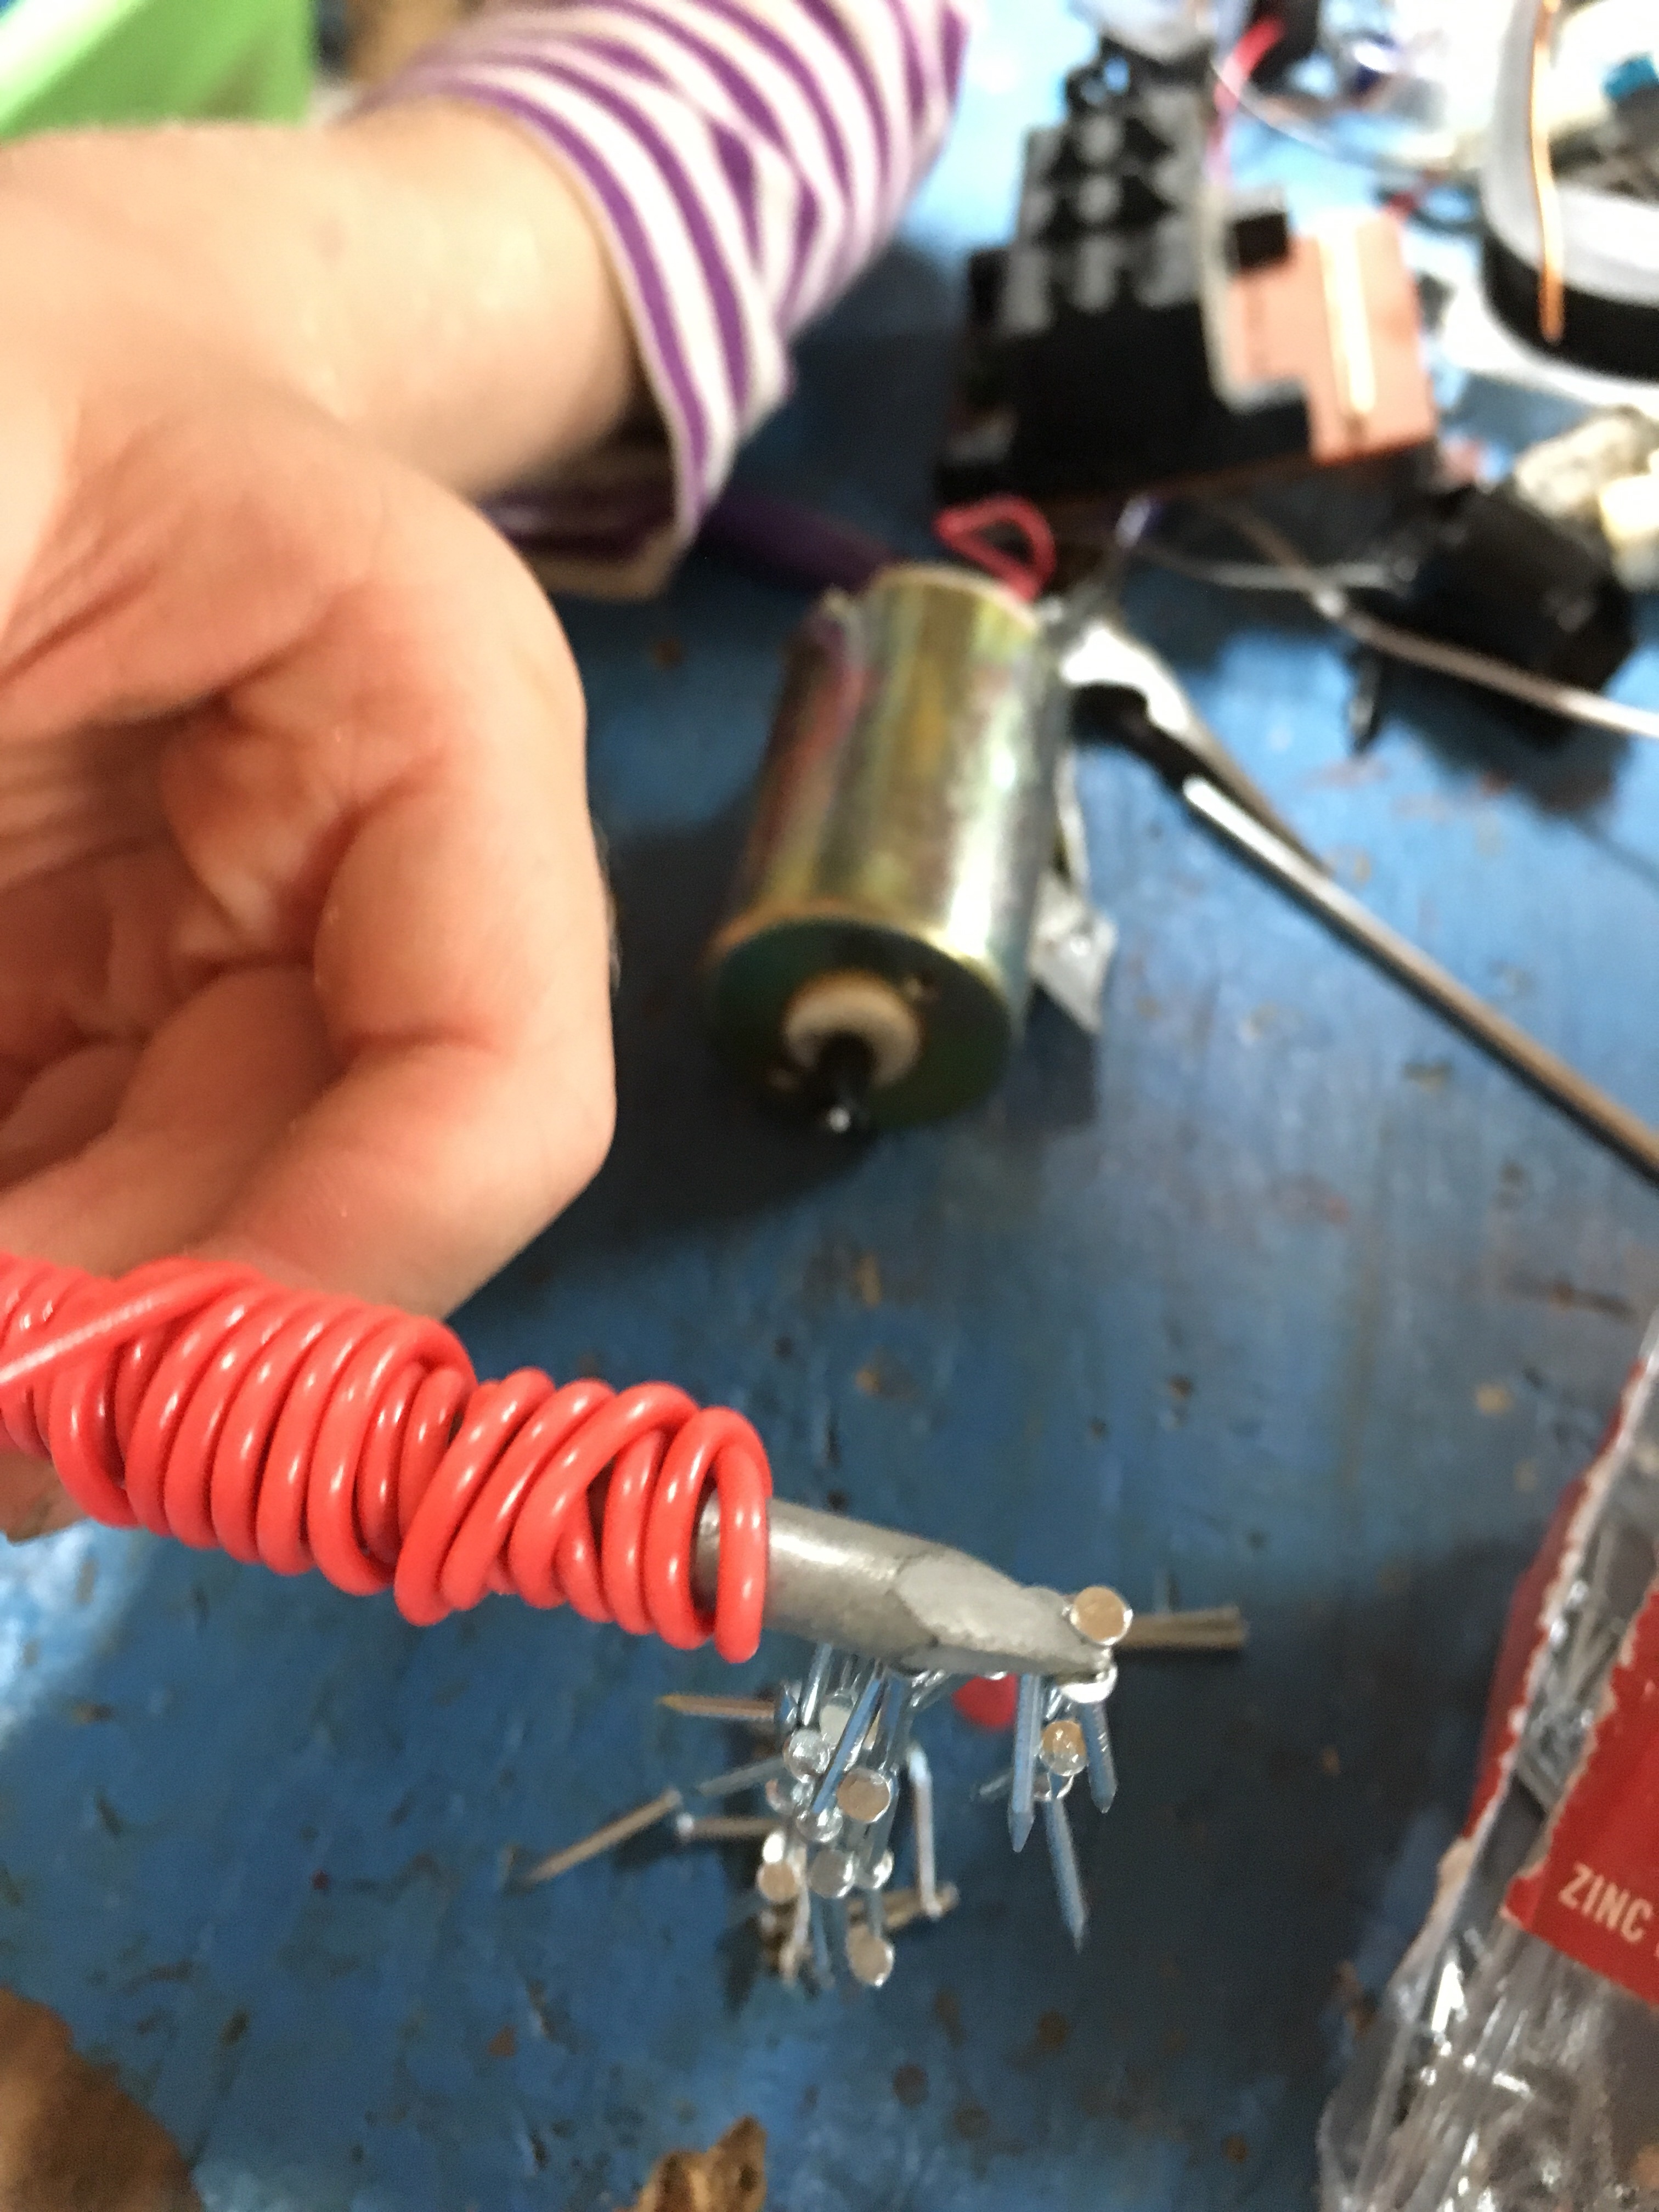
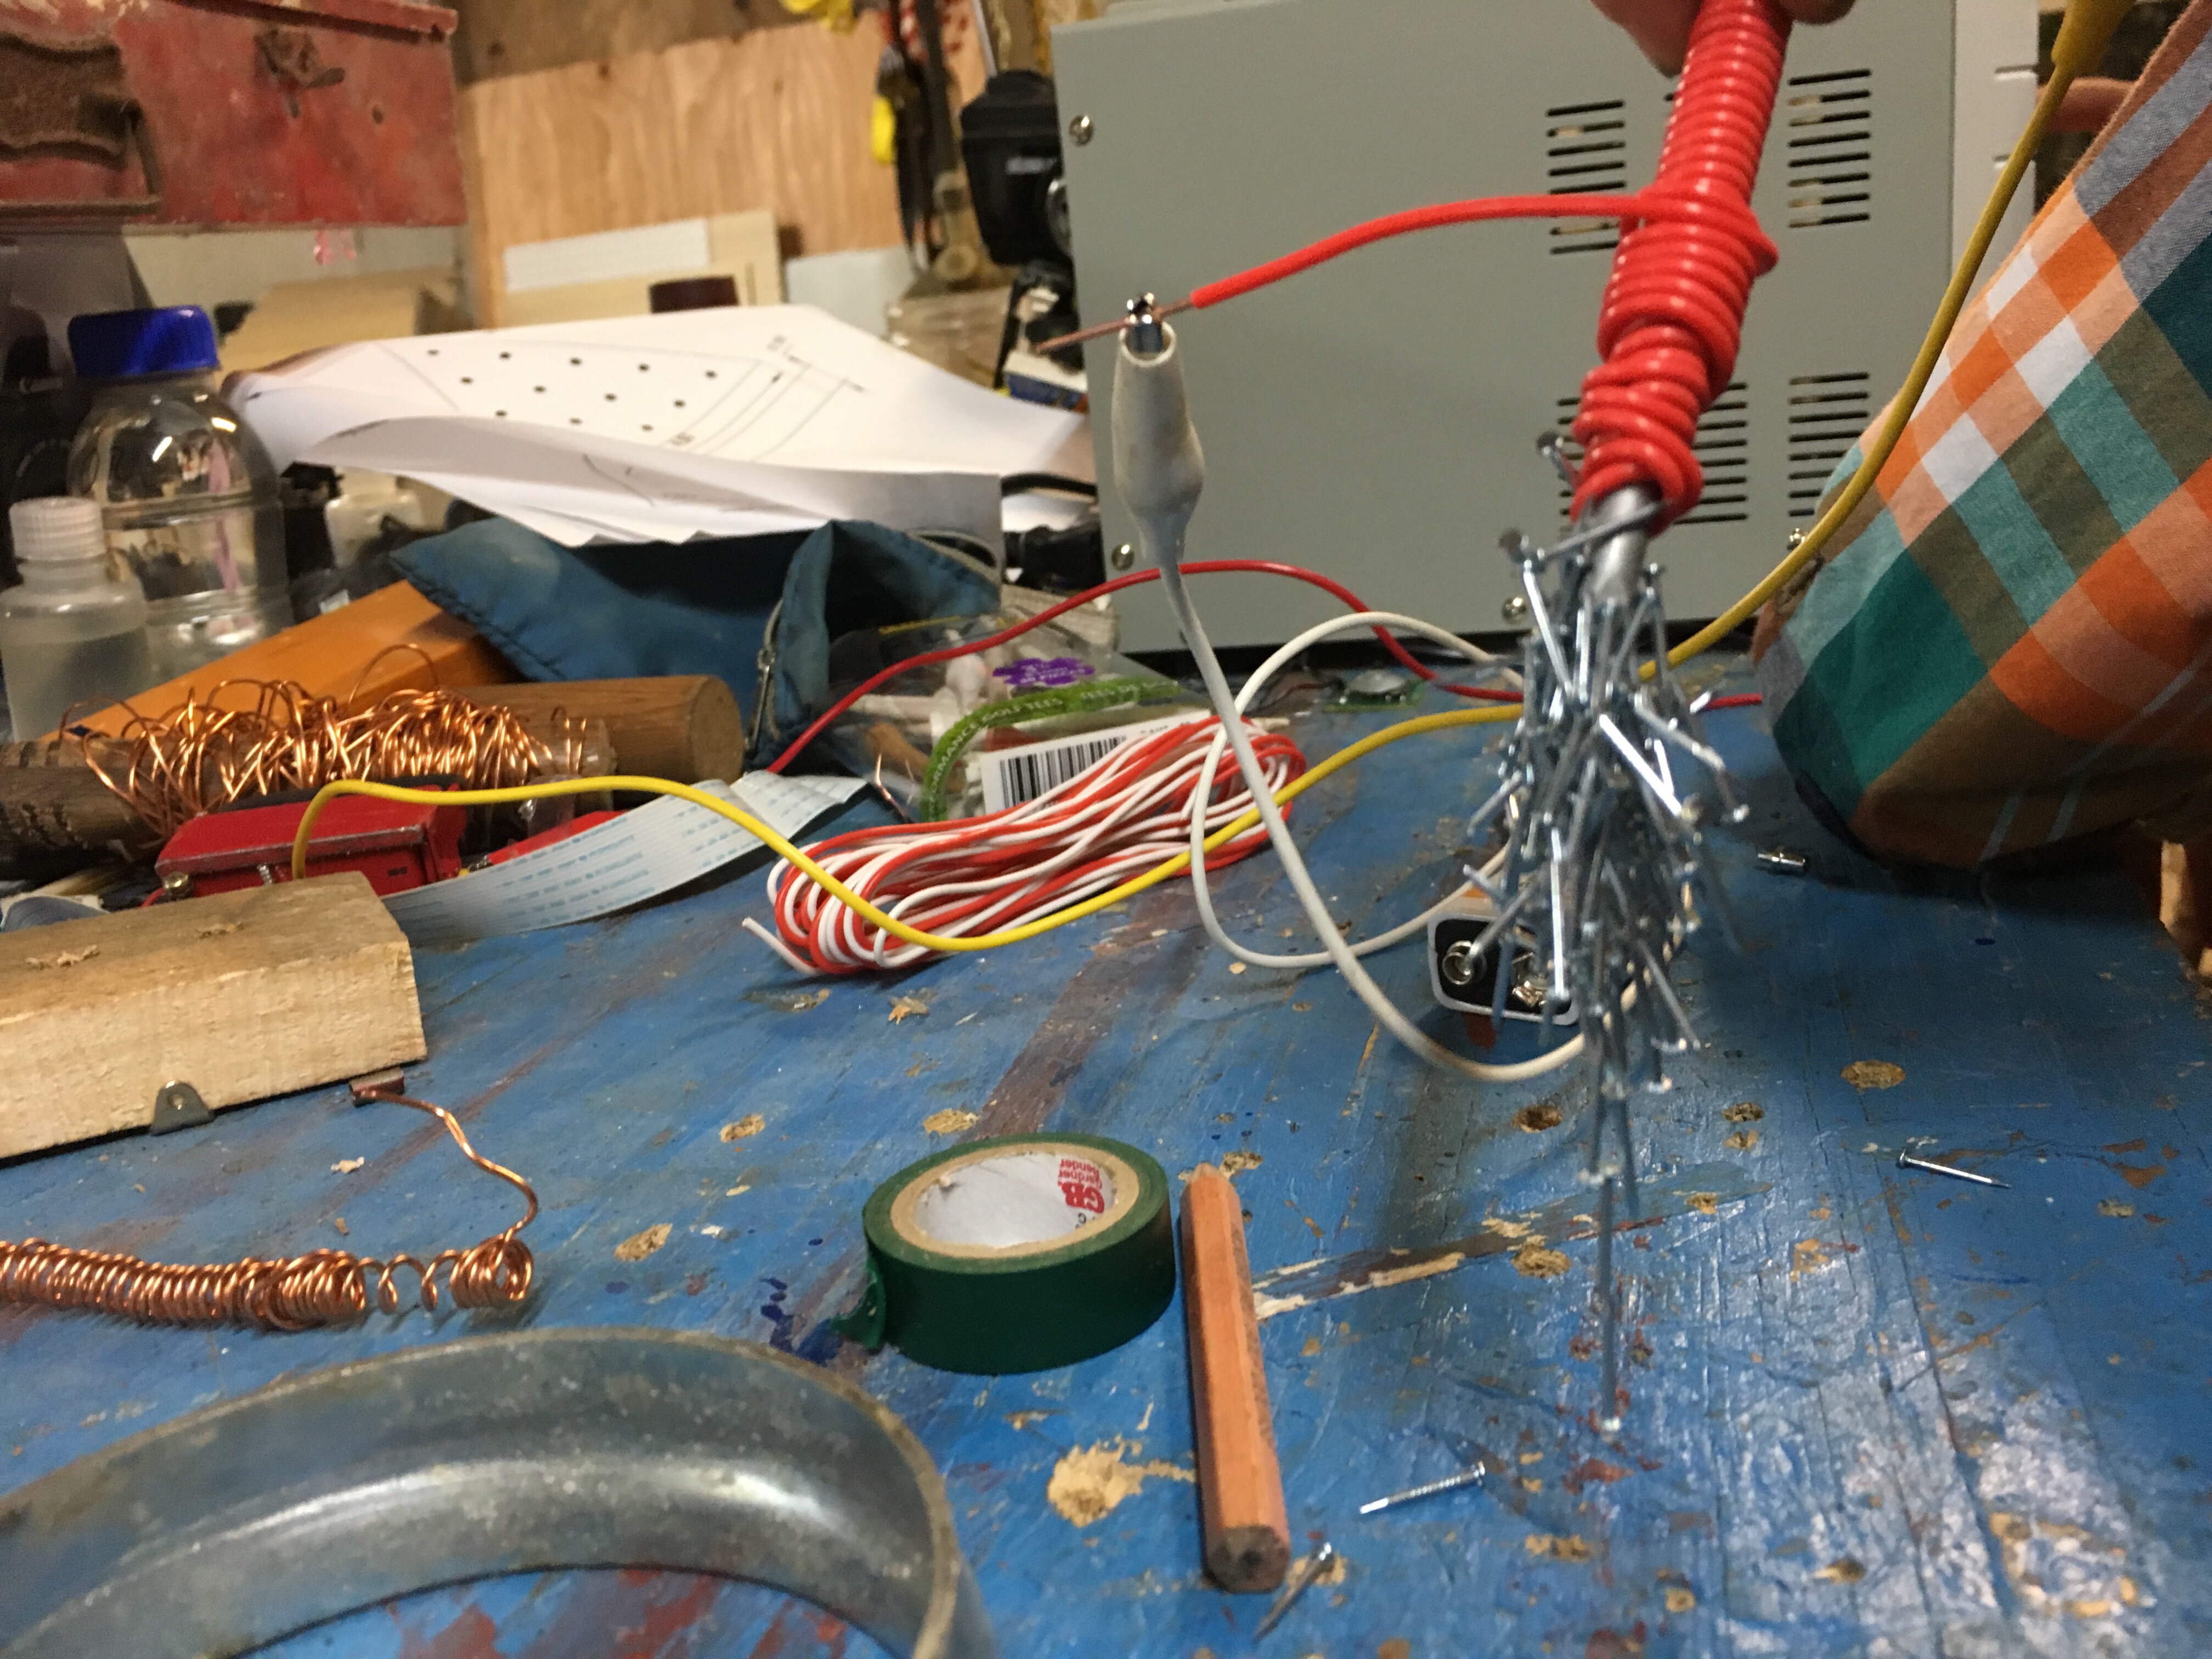
Tonight we decided to experiment with electromagnets and circuits. We started with the classic wire-wrapped nail electromagnet.
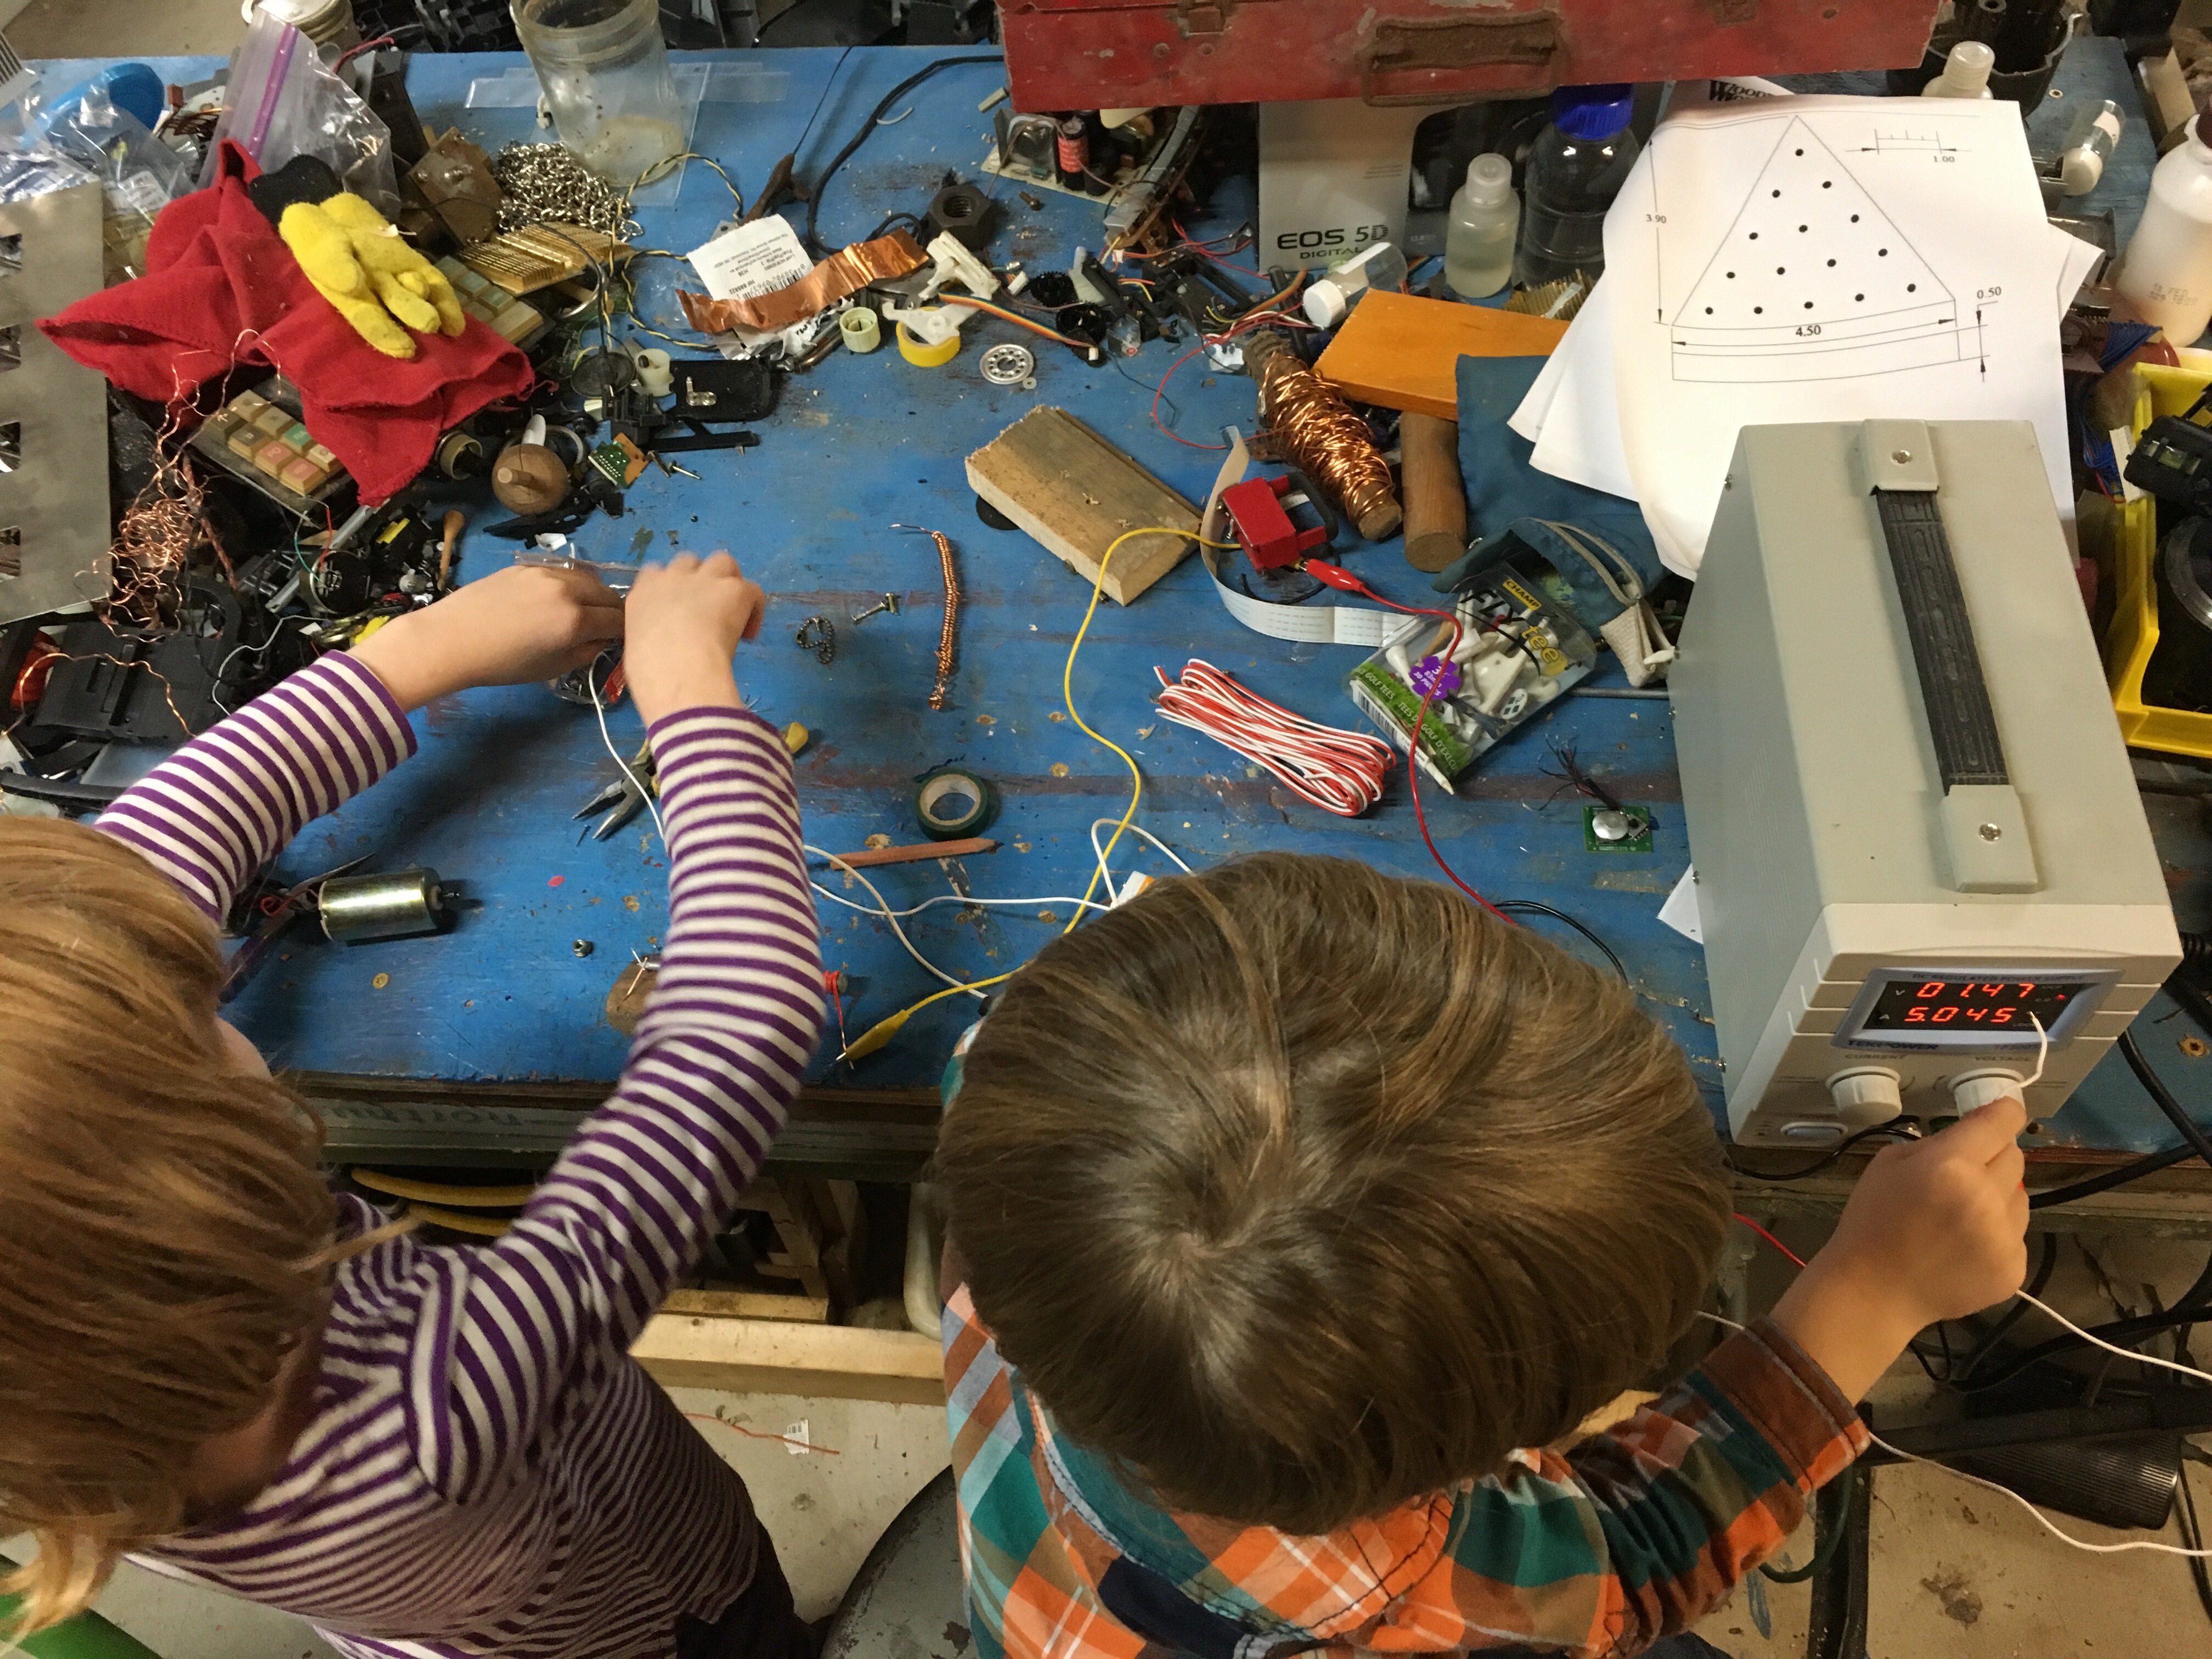
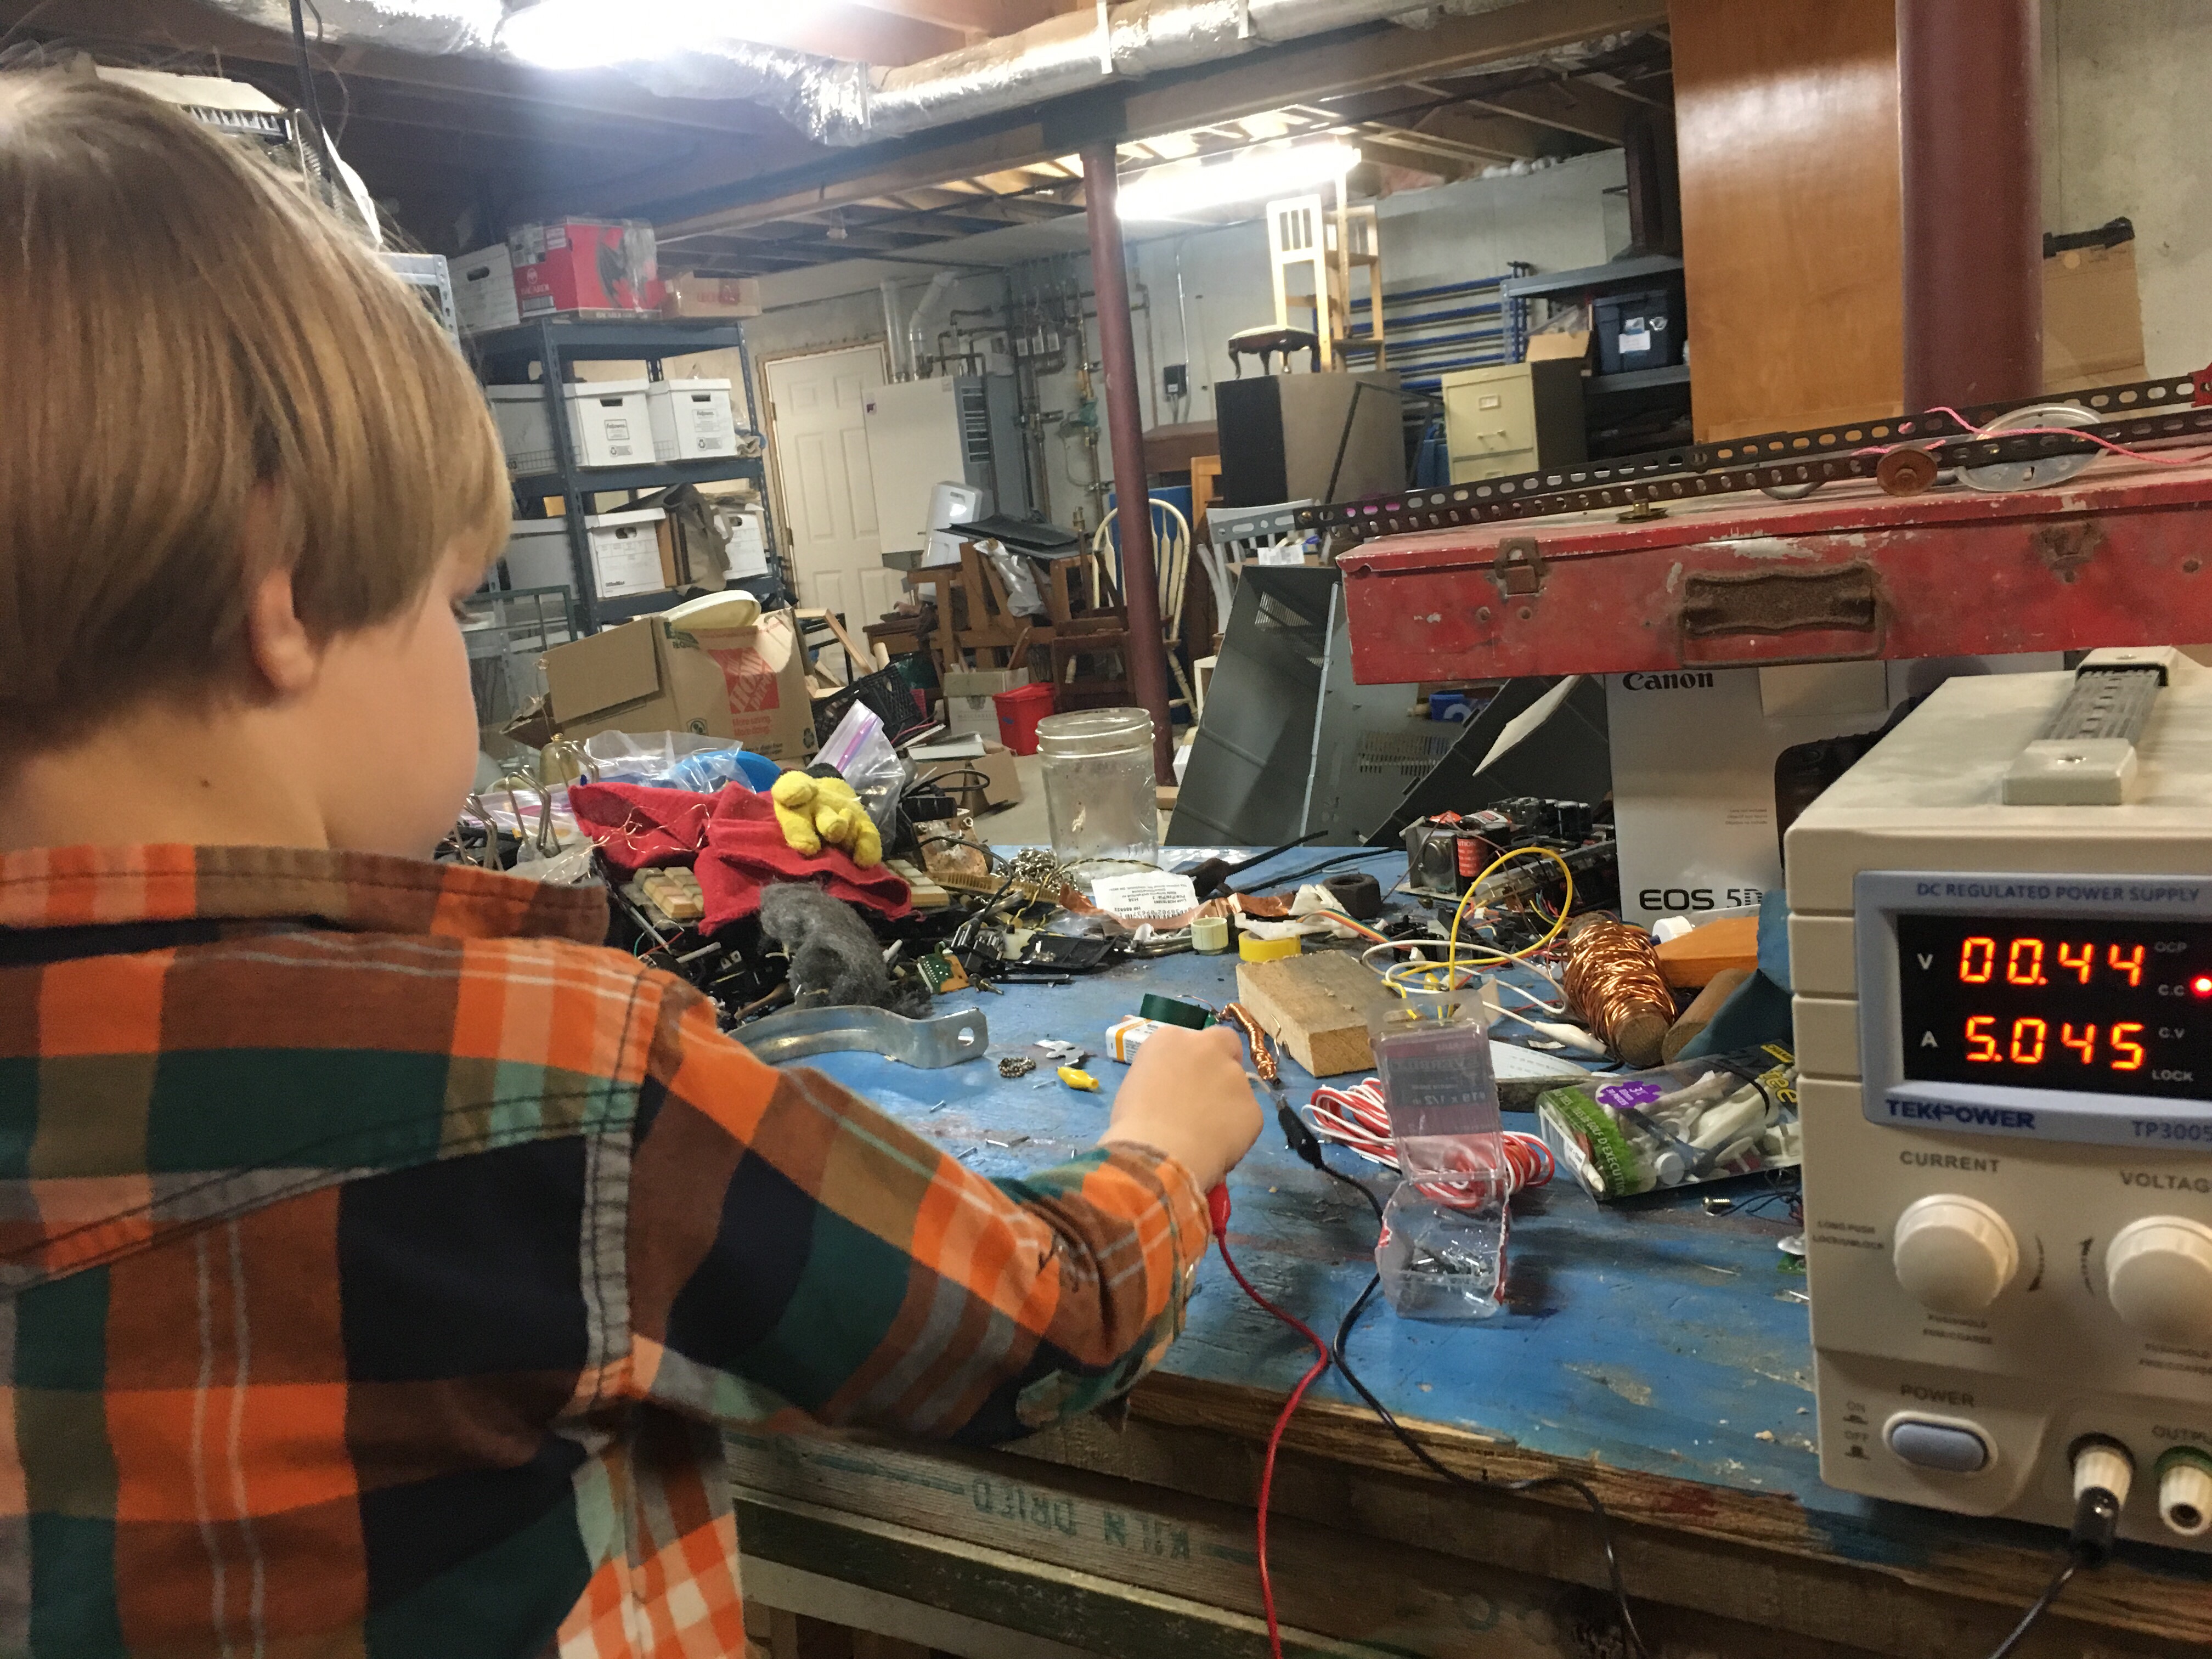
Our first attempt used uncoated wire, which didn’t work. Using 3′ of coated door bell wire worked well enough to pick up small nails and screws. We used the bench power supply, which holds a constant current and keeps the wires from over-heating. Our first attempt with a 9 volt battery caused the battery to get excessively hot. The bench power supply worked much better and had less chance of lighting anything on fire.
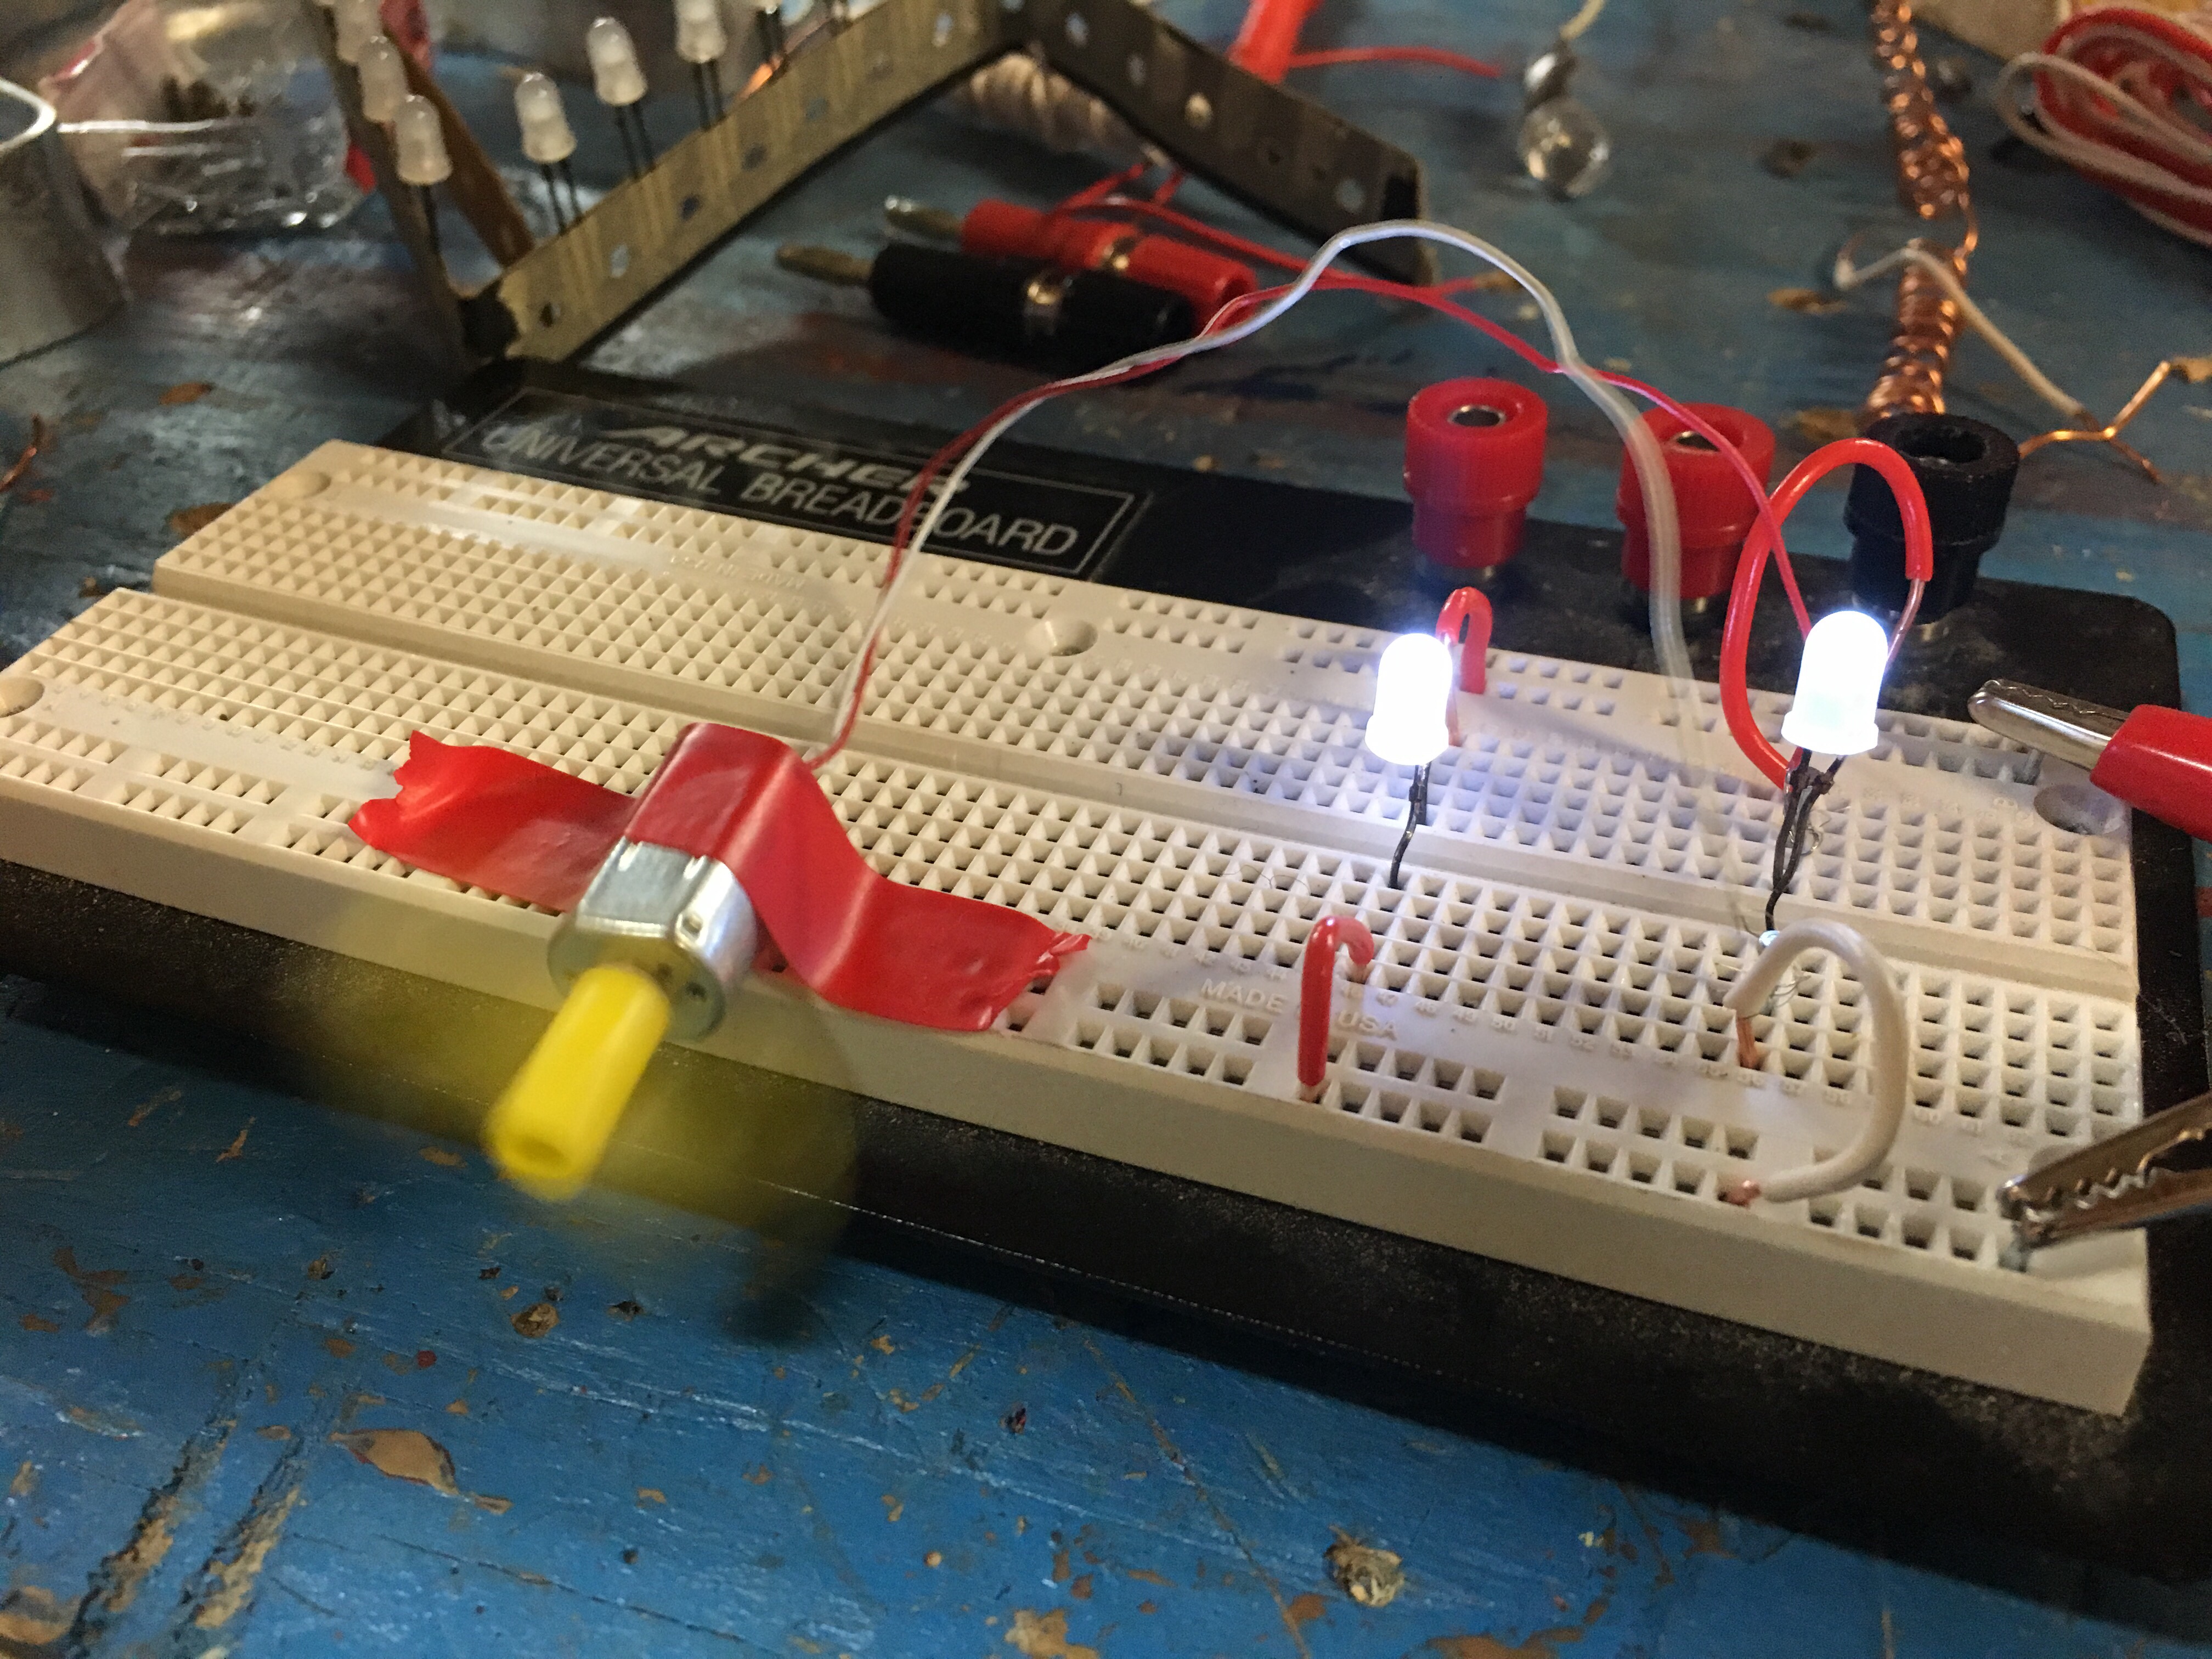
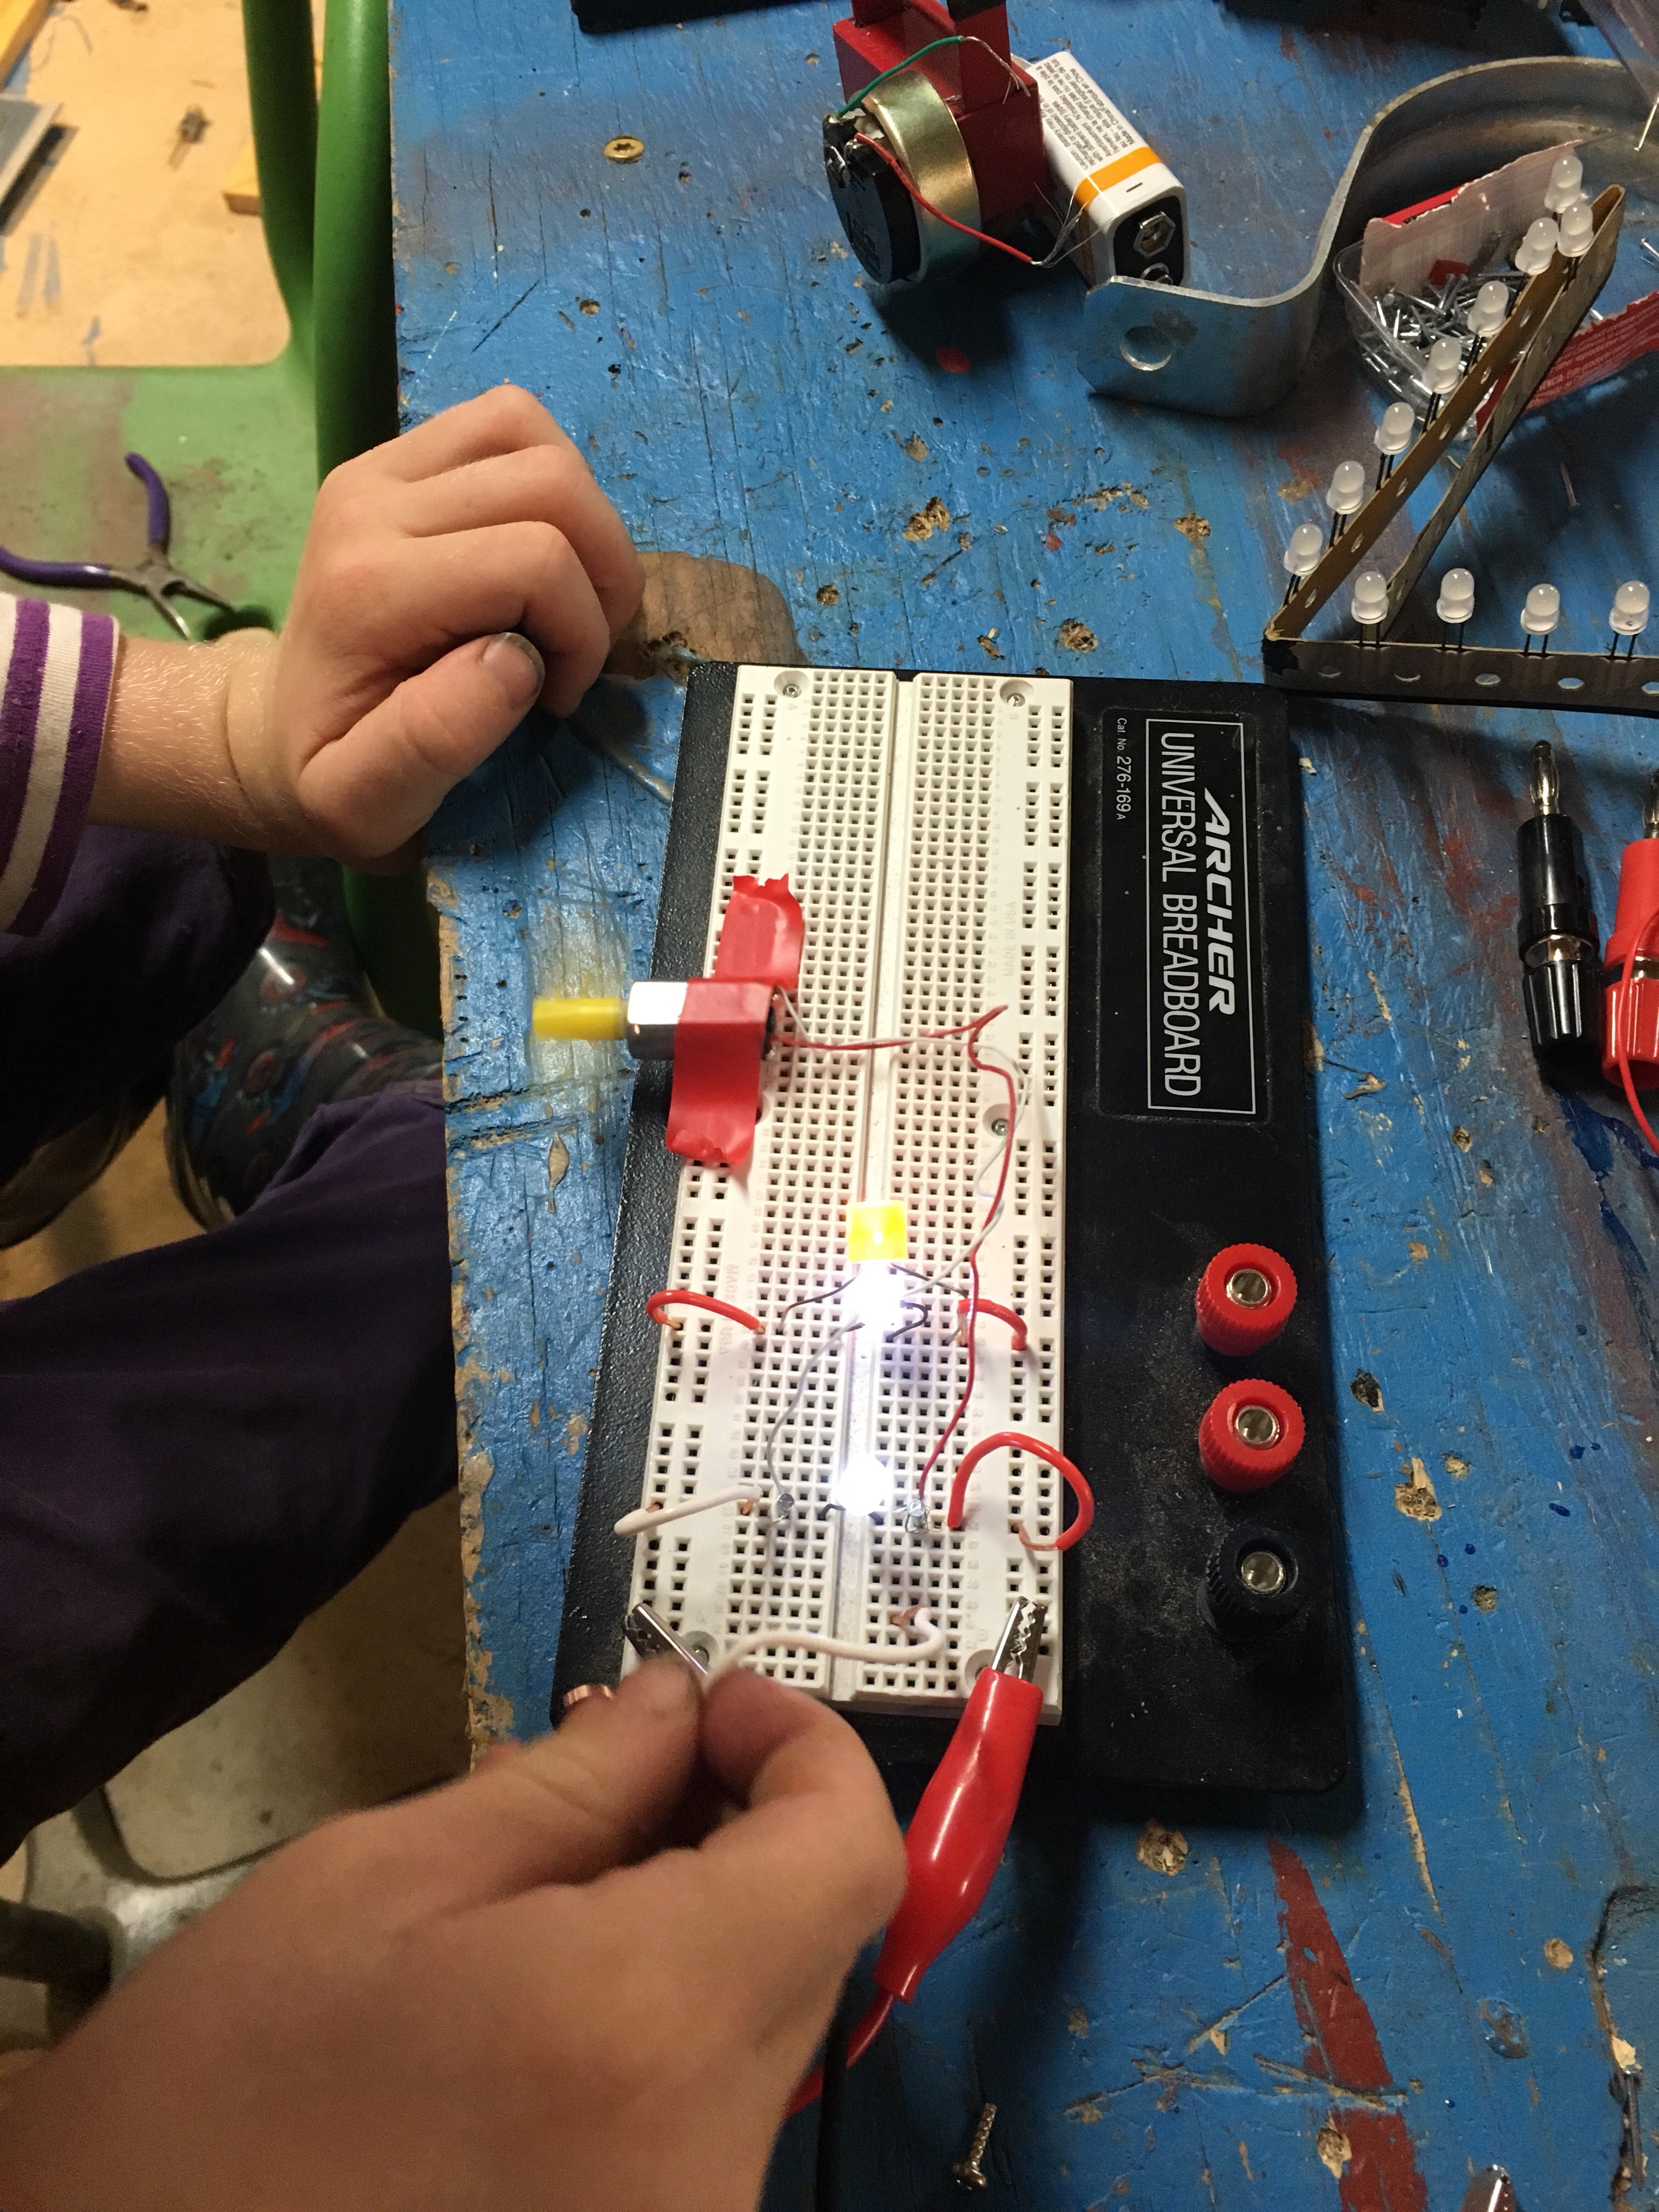
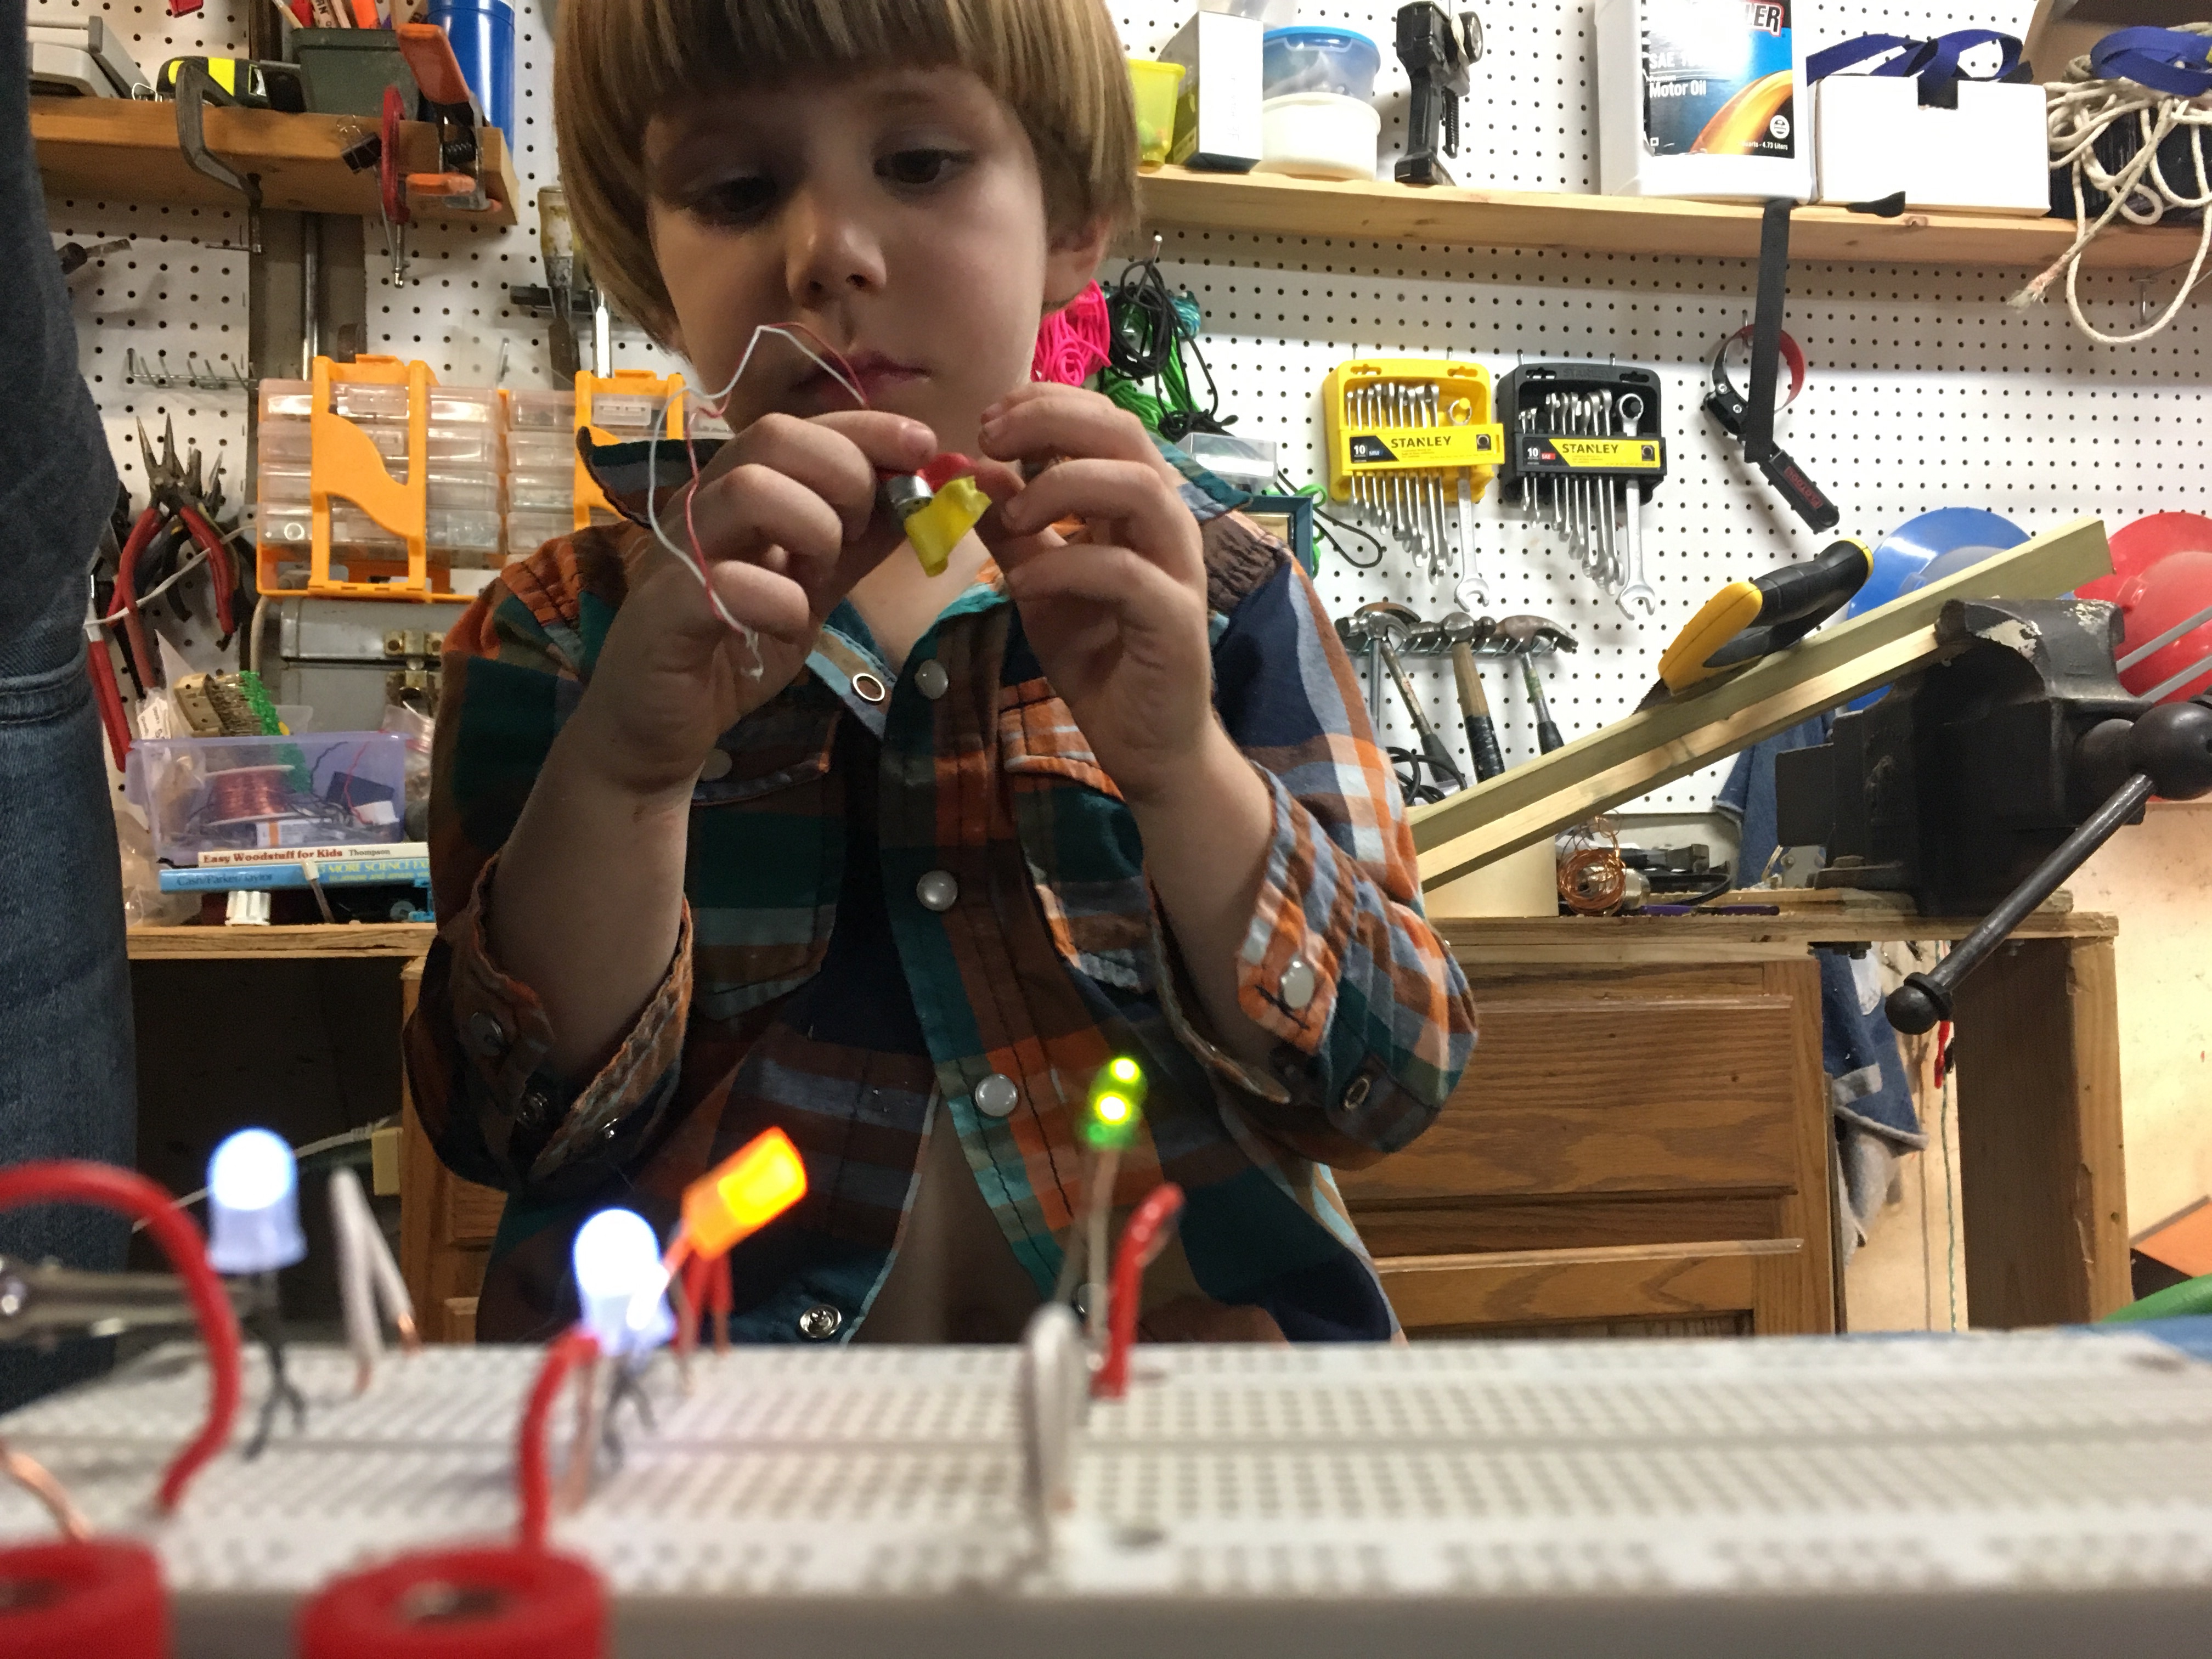
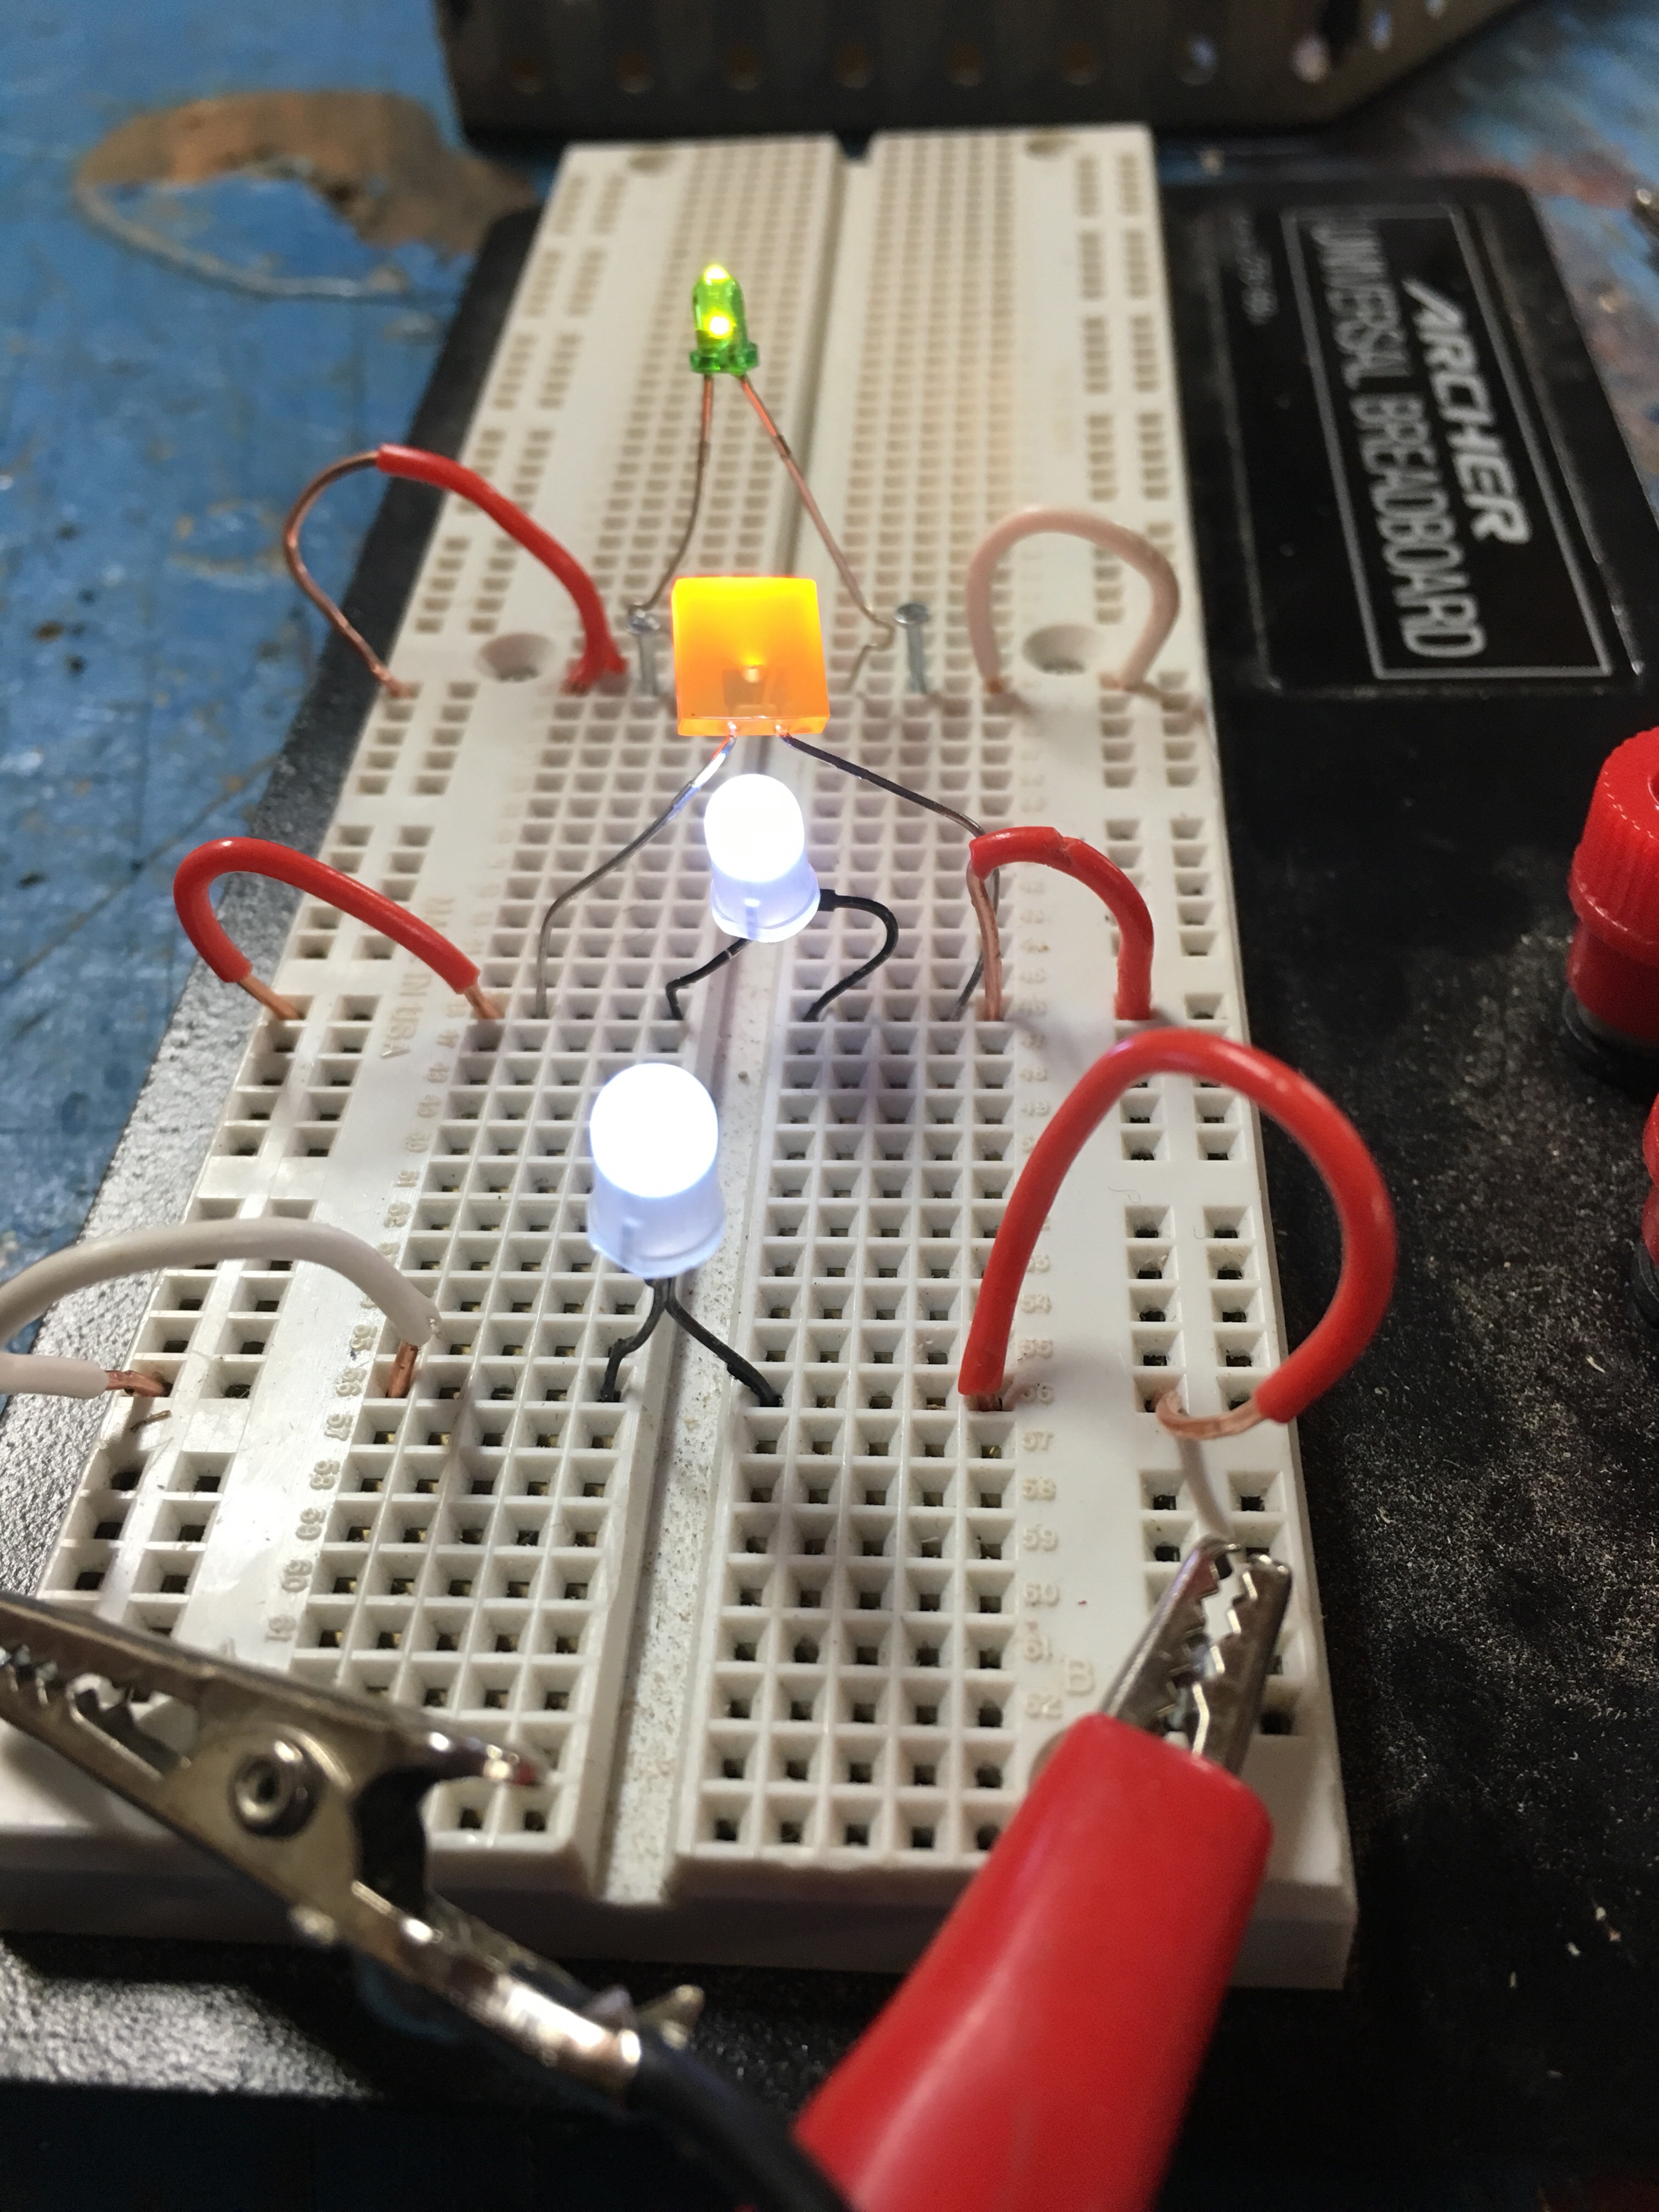
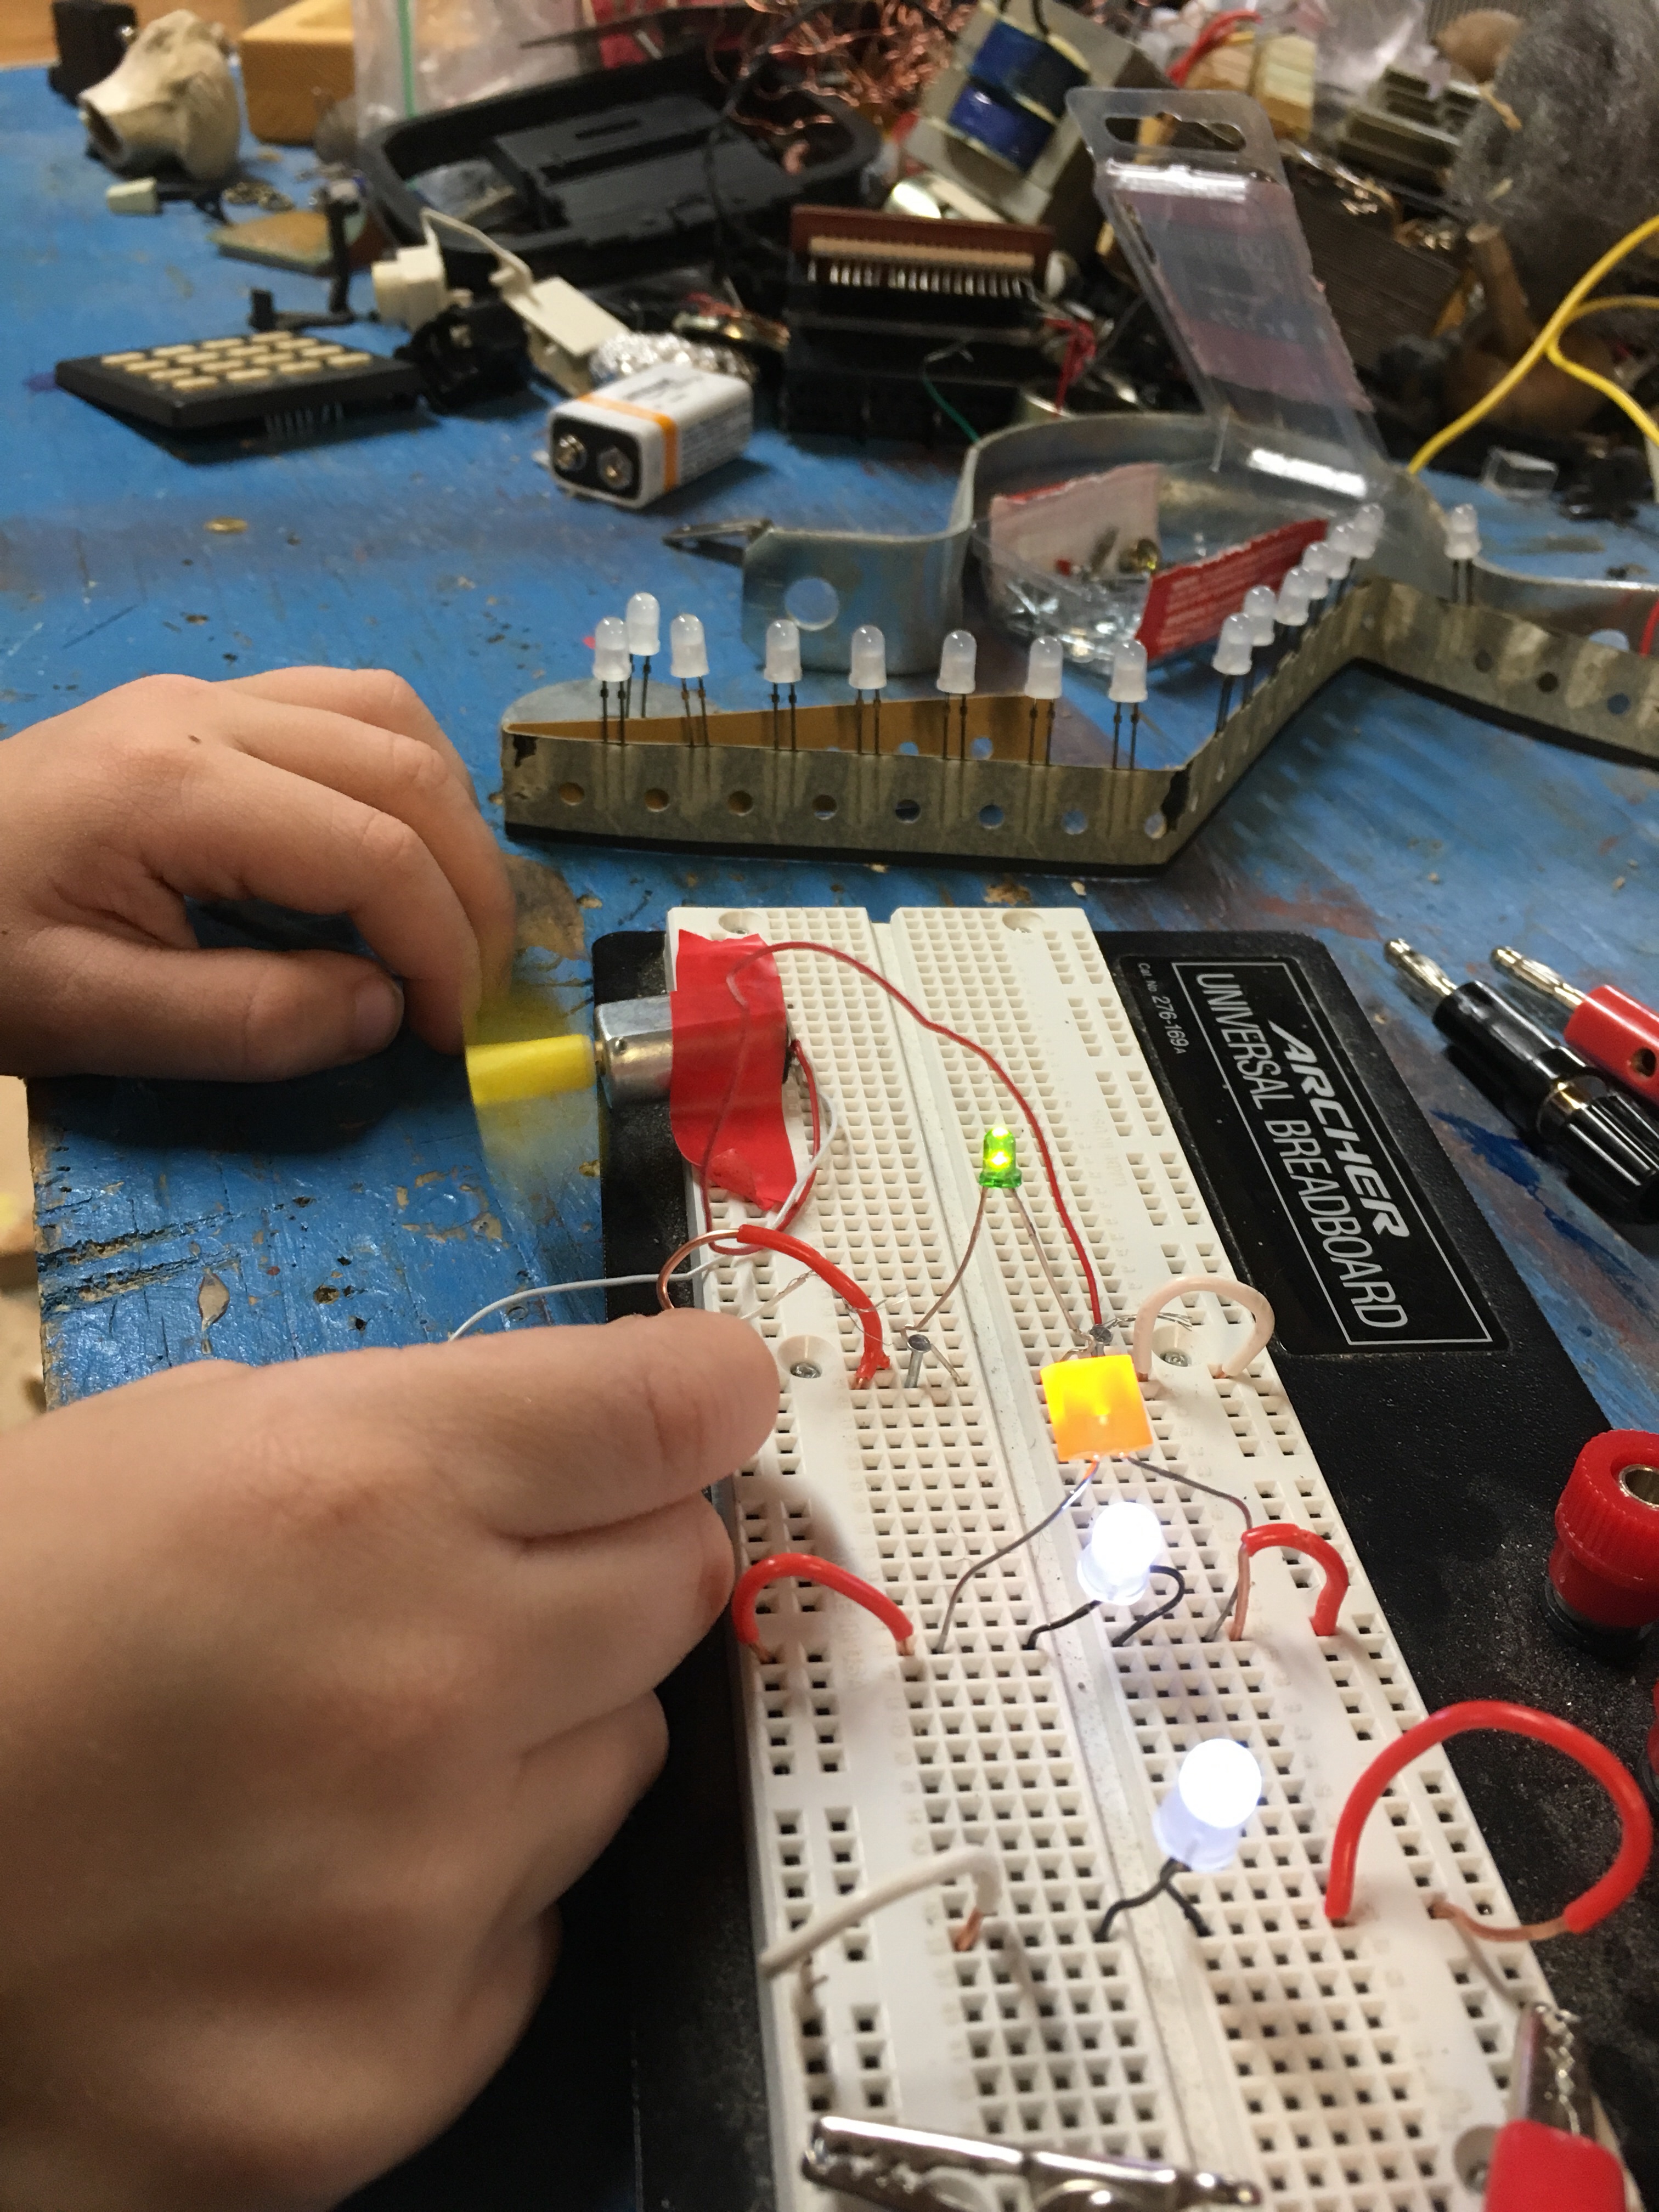
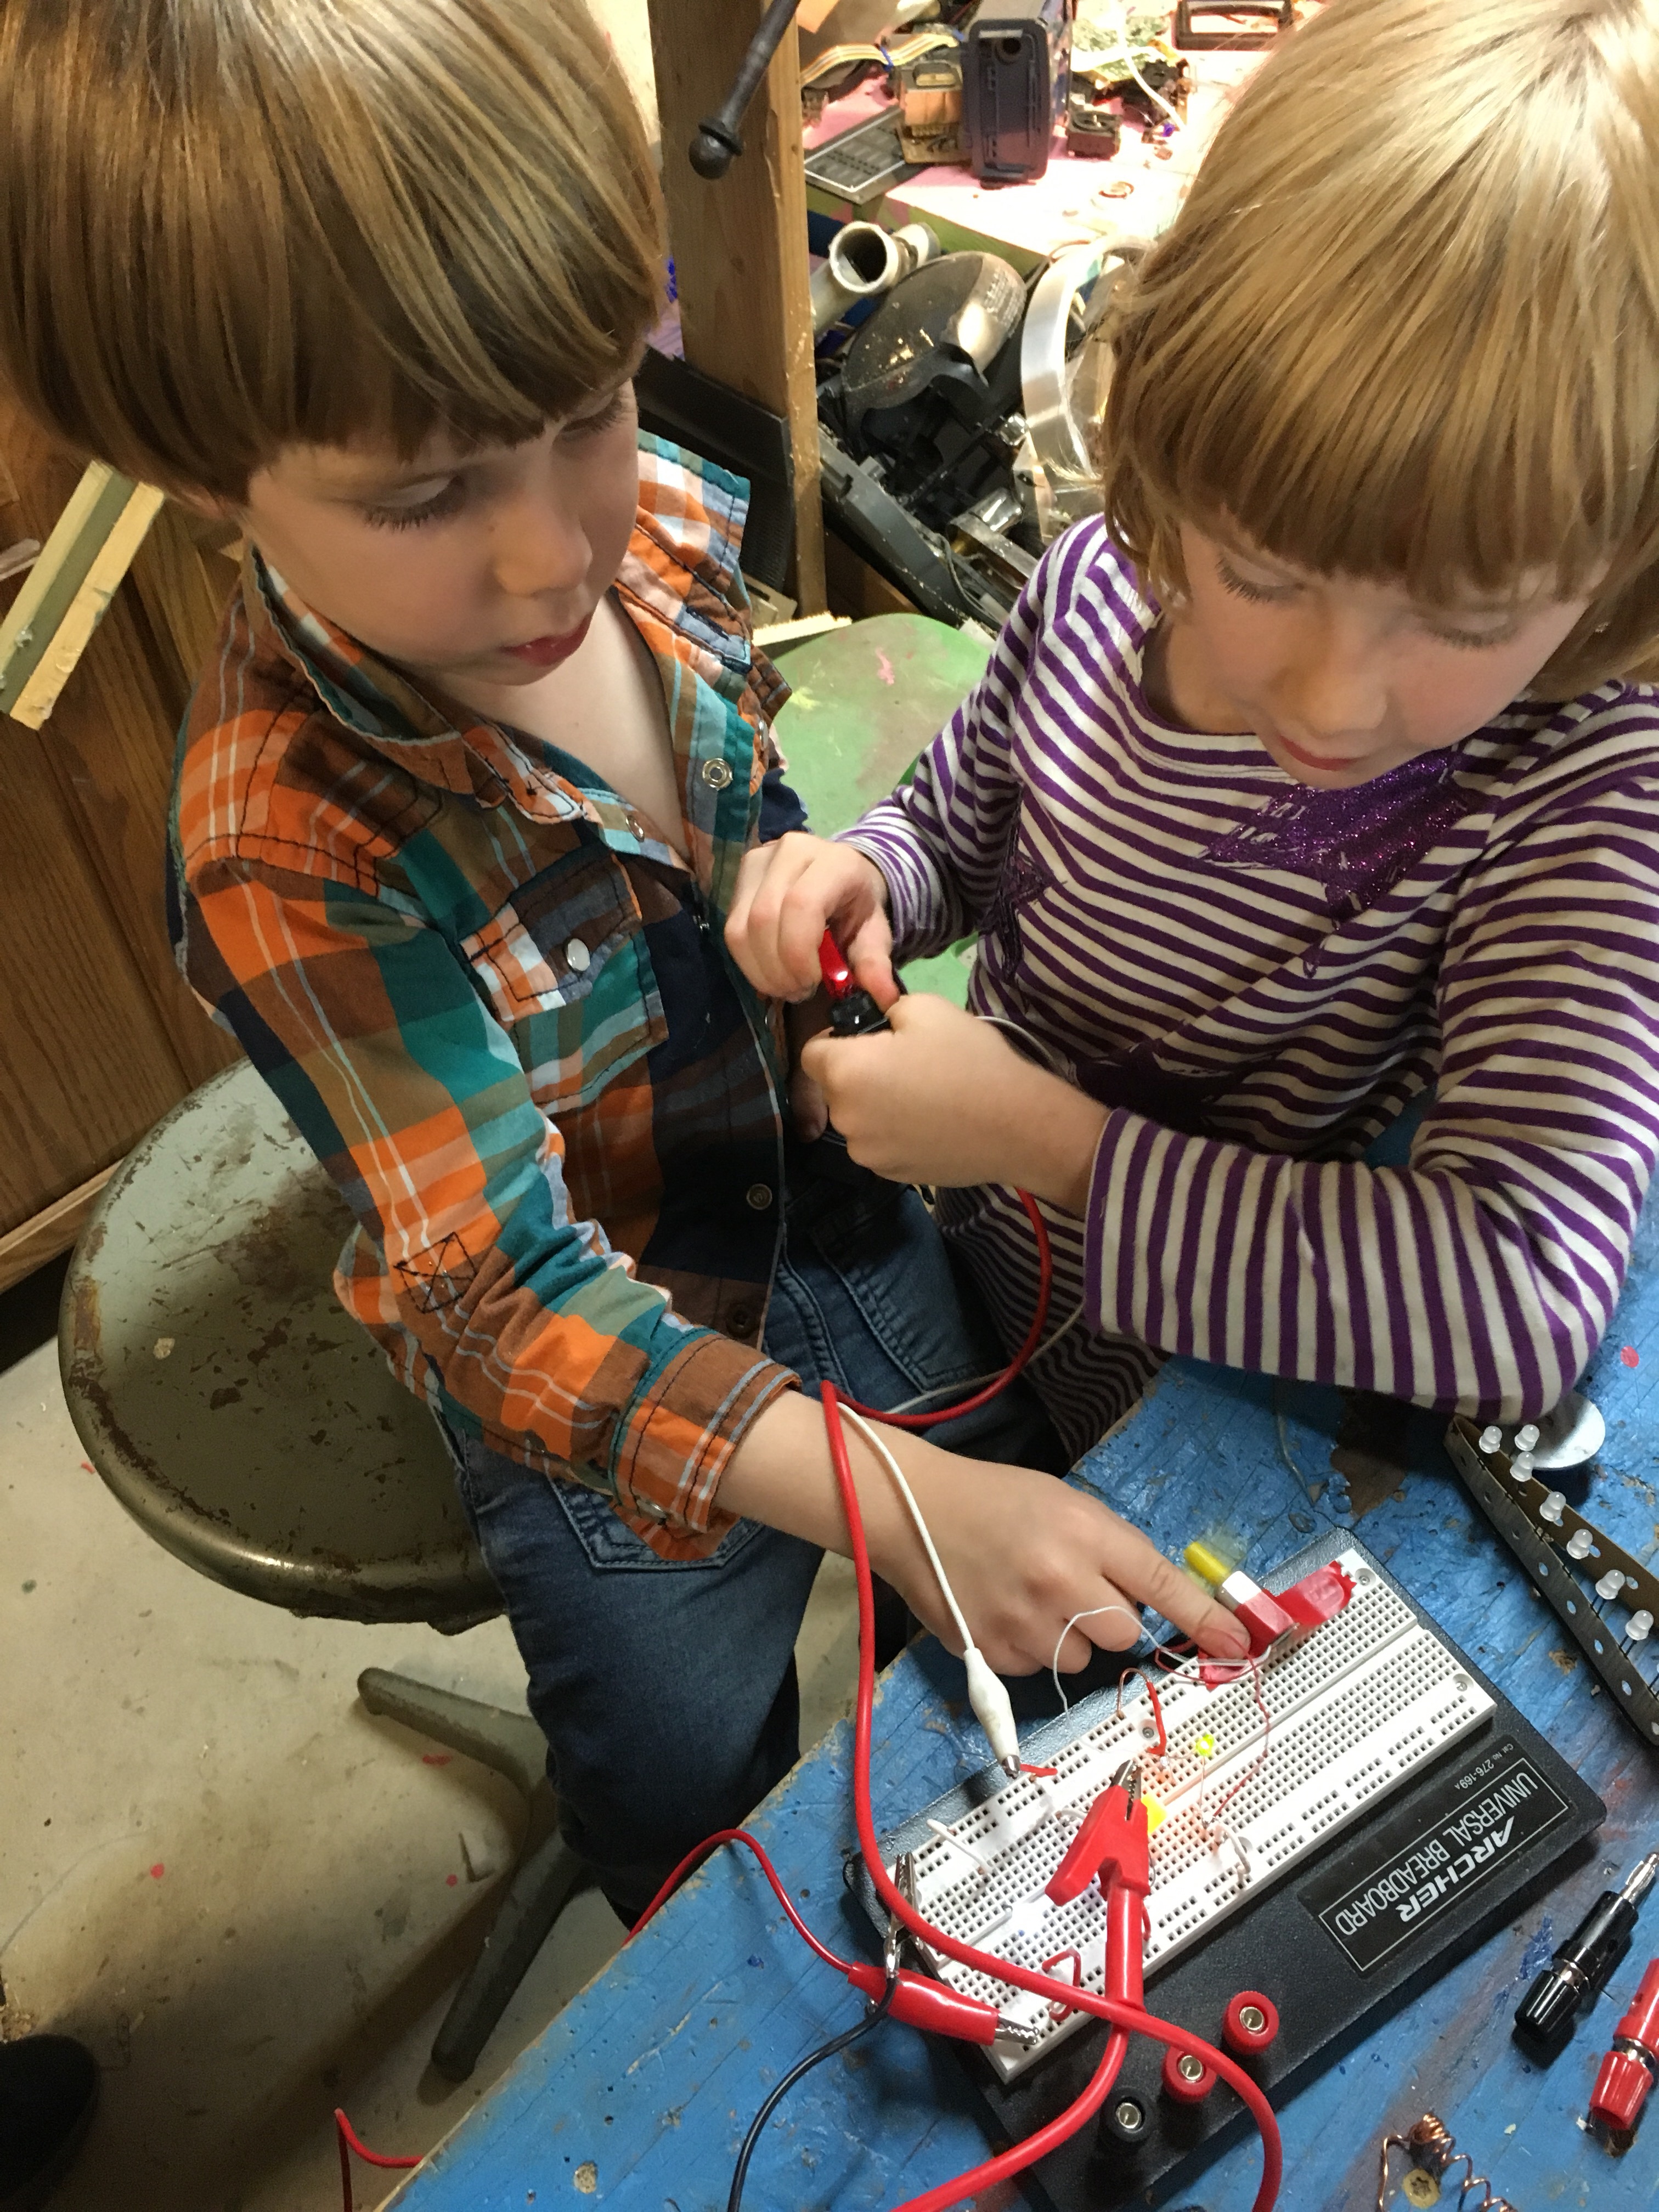
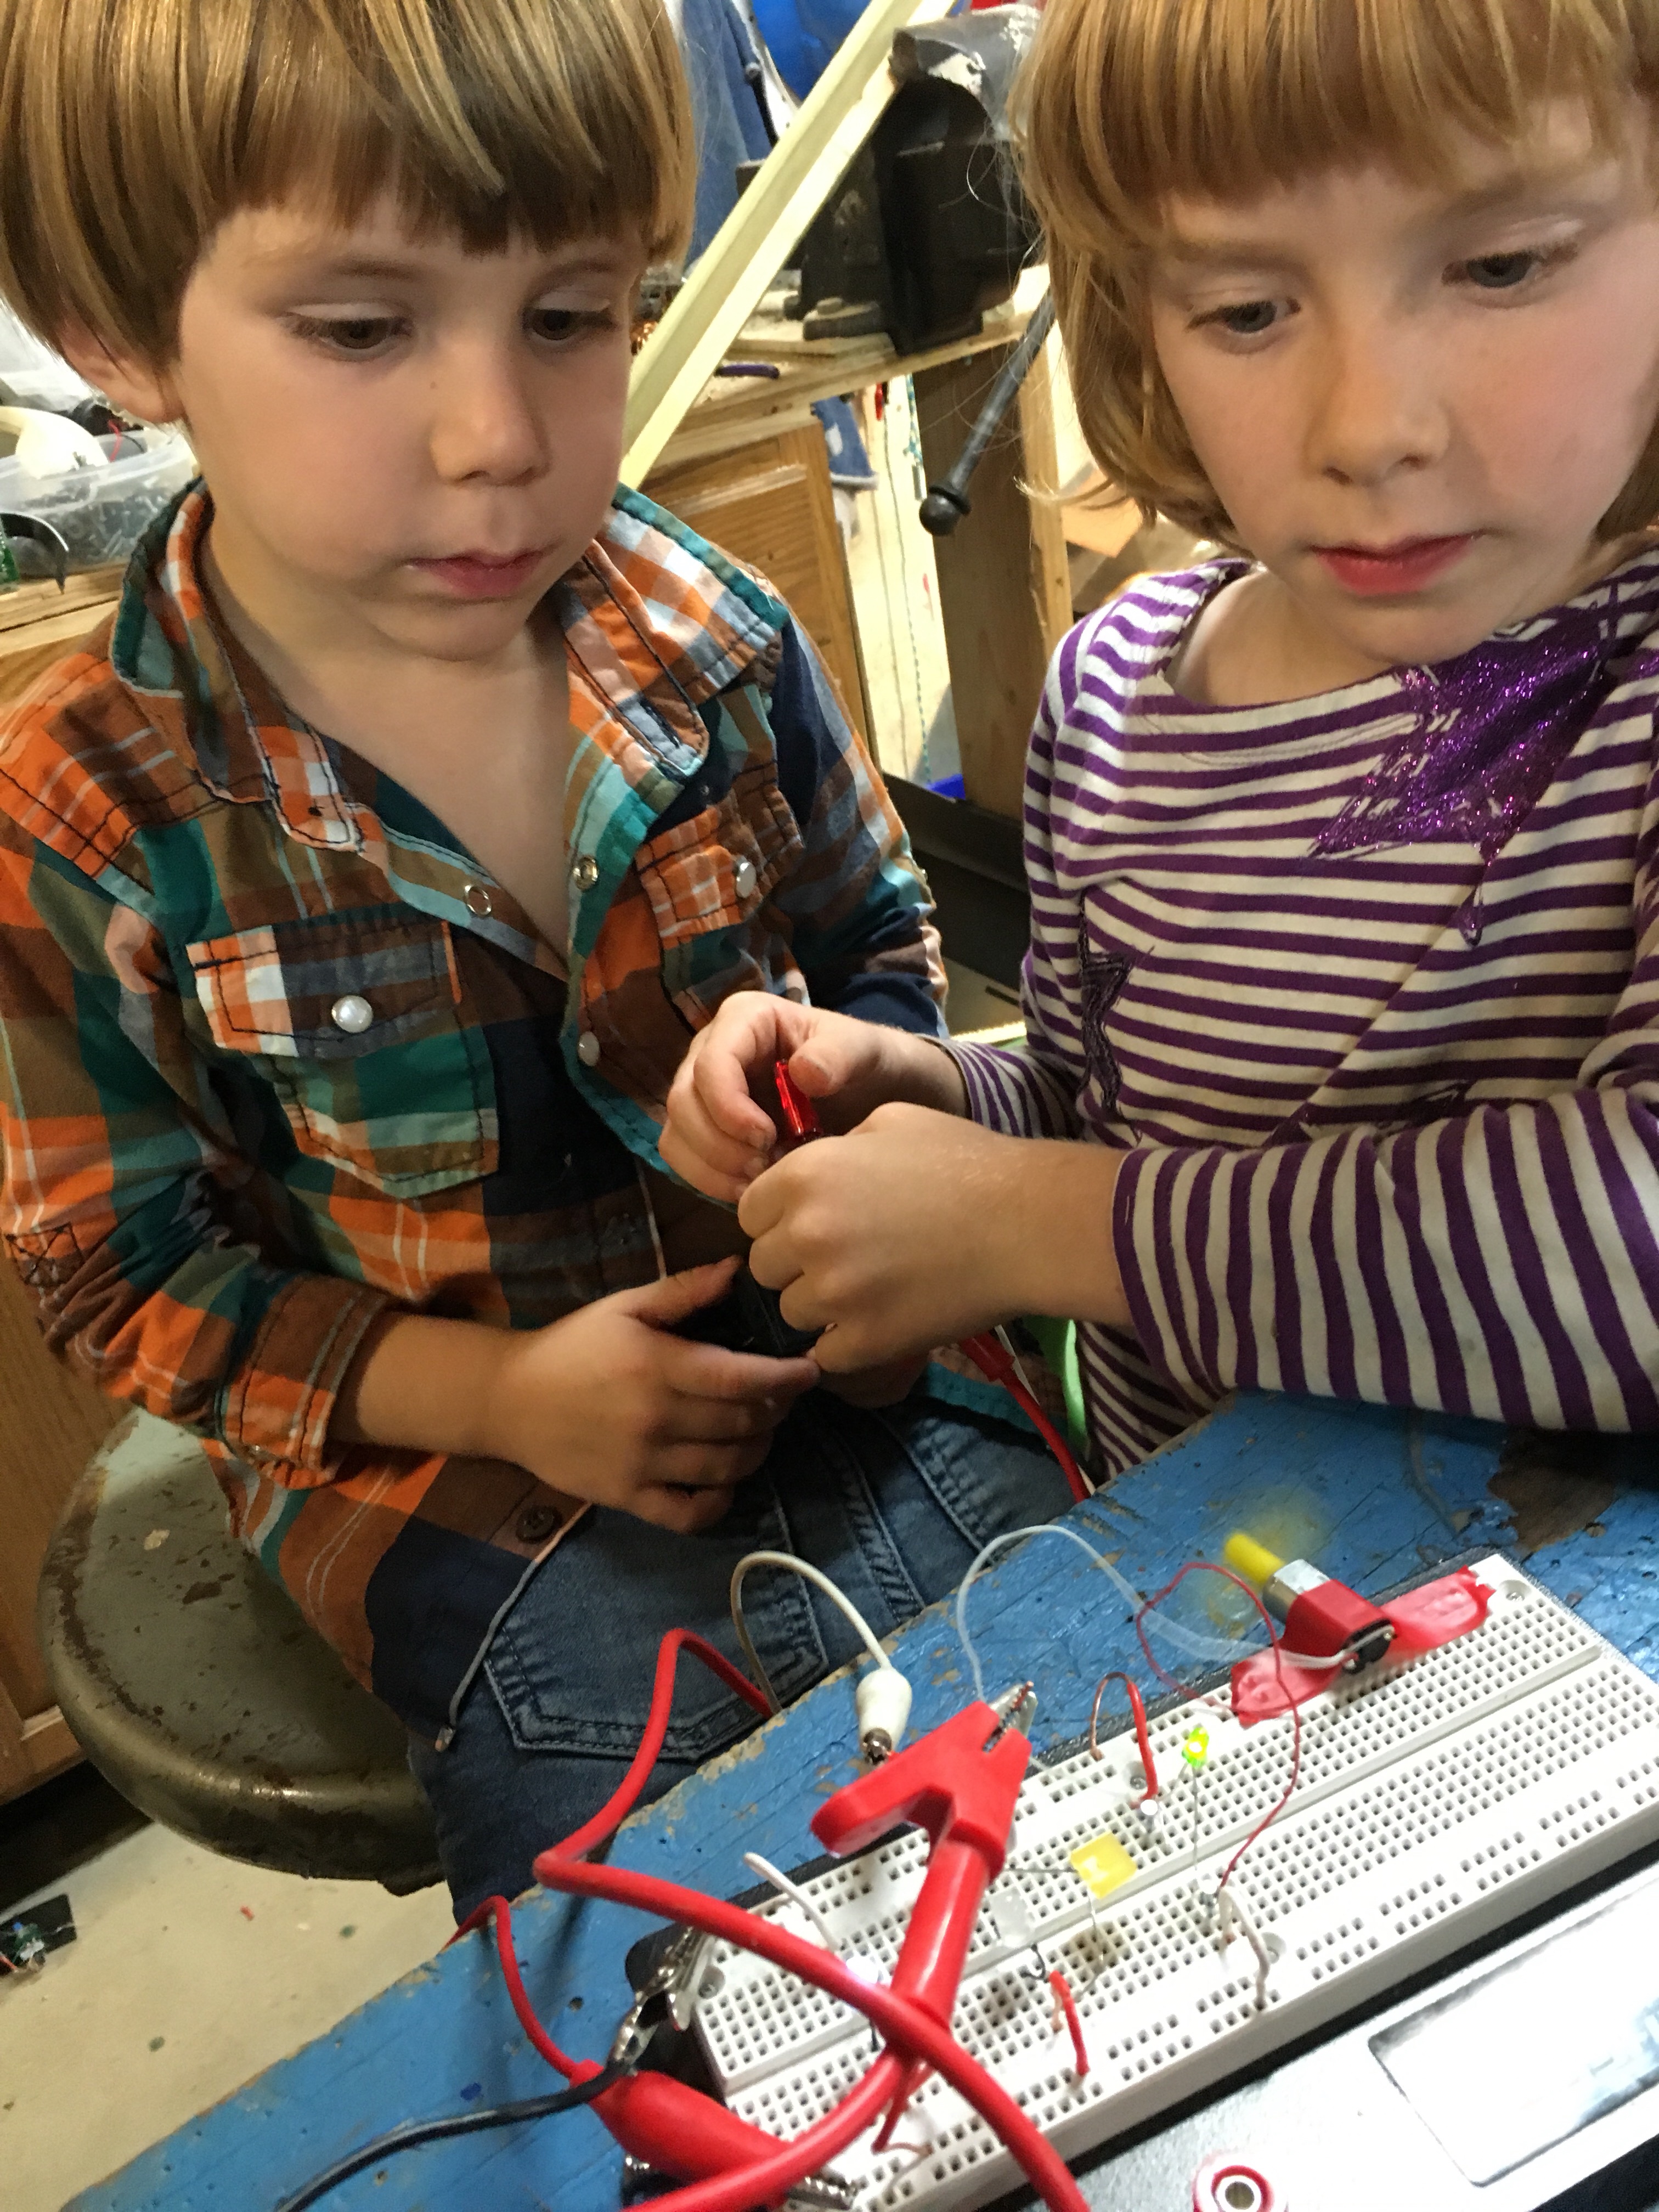
Next we played with the breadboard. I’d been meaning to figure out how to wire it up for awhile and tonight while the kids hot glued stuff together, I took a few minutes to get the power rails set up and lit an LED. The kids and I then added a few more patch wires, LEDs, a small motor, and installed a toggle switch on the line with 2 LEDs and the motor so we could control them. Tomorrow we might install some protective resisters so we can up the rail current to 6 volts and power a buzzer without blowing all the LEDs.
Awhile ago I’d described this panel of switches my dad had built in the headboard of his childhood bed, with which he could do things like turn off the lights and turn on the radio. I think the kids are inspired by this and are interested in wiring something similar in their bedroom. These days we could do it all easier with internet of things devices, but I think we’ll do it first with old fashioned wire and toggle switches since it’s more instructional than just plugging in gadgets.